Getting Started
Installation
Install Sync Gateway on the operating system of your choice:
Download Sync Gateway from the Couchbase downloads page or using wget.
wget https://packages.couchbase.com/releases/couchbase-sync-gateway/2.0.0/couchbase-sync-gateway-community_2.0.0_x86_64.debInstall sync_gateway with the dpkg package manager e.g:
dpkg -i couchbase-sync-gateway-community_2.0.0_x86_64.debWhen the installation is complete sync_gateway will be running as a service.
To stop/start the sync_gateway service, use the following.
sudo service sync_gateway start
sudo service sync_gateway stop
The config file and logs are located in /home/sync_gateway.
You can also run the sync_gateway binary directly from the command line.
The binary is installed at /opt/couchbase-sync-gateway/bin/sync_gateway.
Download Sync Gateway from the Couchbase downloads page or using the wget.
wget https://packages.couchbase.com/releases/couchbase-sync-gateway/2.0.0/couchbase-sync-gateway-community_2.0.0_x86_64.rpmInstall sync_gateway with the rpm package manager e.g:
rpm -i couchbase-sync-gateway-community_2.0.0_x86_64.rpmWhen the installation is complete sync_gateway will be running as a service.
On CentOS 5:
service sync_gateway start
service sync_gateway stop
On CentOS 6:
initctl start sync_gateway
initctl stop sync_gateway
The initctl restart sync_gateway command does not work in CentOS 6.
To restart Sync Gateway, the stop/start commands can be used instead.
On CentOS 7:
systemctl start sync_gateway
systemctl stop sync_gateway
The config file and logs are located in /home/sync_gateway.
Download Sync Gateway from the Couchbase downloads page or using the wget.
wget https://packages.couchbase.com/releases/couchbase-sync-gateway/2.0.0/couchbase-sync-gateway-community_2.0.0_x86_64.debInstall sync_gateway with the dpkg package manager e.g:
dpkg -i couchbase-sync-gateway-community_2.0.0_x86_64.debWhen the installation is complete sync_gateway will be running as a service.
systemctl start sync_gateway
systemctl stop sync_gateway
The config file and logs are located in /home/sync_gateway.
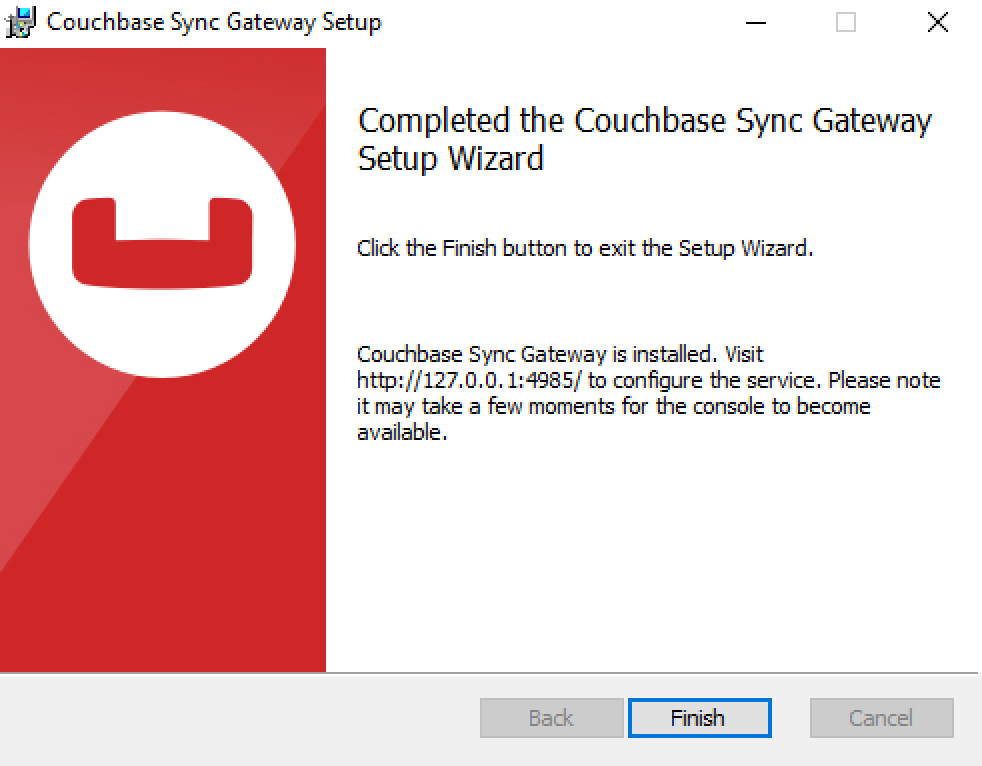
Download Sync Gateway from the Couchbase downloads page. Open the installer and follow the instructions. If the installation was successful you will see the following.
Sync Gateway runs as a service (reachable on http://localhost:4985/). To stop/start the service, you can use the Services application (Control Panel → Admin Tools → Services).
-
The configuration file is located under C:FilesGateway.json.
-
Logs are located under C:FilesGateway.
Download Sync Gateway from the Couchbase downloads page or using the wget.
wget https://packages.couchbase.com/releases/couchbase-sync-gateway/2.0.0/couchbase-sync-gateway-community_2.0.0_x86_64.tar.gzInstall sync_gateway by unpacking the tar.gz installer.
sudo tar -zxvf couchbase-sync-gateway-community_2.0.0_x86_64.tar.gz --directory /optCreate the sync_gateway service.
$ sudo mkdir /Users/sync_gateway

$ cd /opt/couchbase-sync-gateway/service

$ sudo ./sync_gateway_service_install.sh
To restart sync_gateway (it will automatically start again).
$ sudo launchctl stop sync_gatewayTo remove the service.
$ sudo launchctl unload /Library/LaunchDaemons/com.couchbase.mobile.sync_gateway.plistThe config file and logs are located in /Users/sync_gateway.
The following sections describe how to install and configure Sync Gateway to run with Couchbase Server.
Network configuration
Sync Gateway uses specific ports for communication with the outside world, mostly Couchbase Lite databases replicating to and from Sync Gateway. The following table lists the ports used for different types of Sync Gateway network communication:
| Port | Description |
|---|---|
4984 |
Public port. External HTTP port used for replication with Couchbase Lite databases and other applications accessing the REST API on the Internet. |
4985 |
Admin port. Internal HTTP port for unrestricted access to the database and to run administrative tasks. |
Configure Couchbase Server
To configure Couchbase Server before connecting Sync Gateway, run through the following.
-
Download and install Couchbase Server.
-
Open the Couchbase Server Admin Console on http://localhost:8091 and log on using your administrator credentials.
-
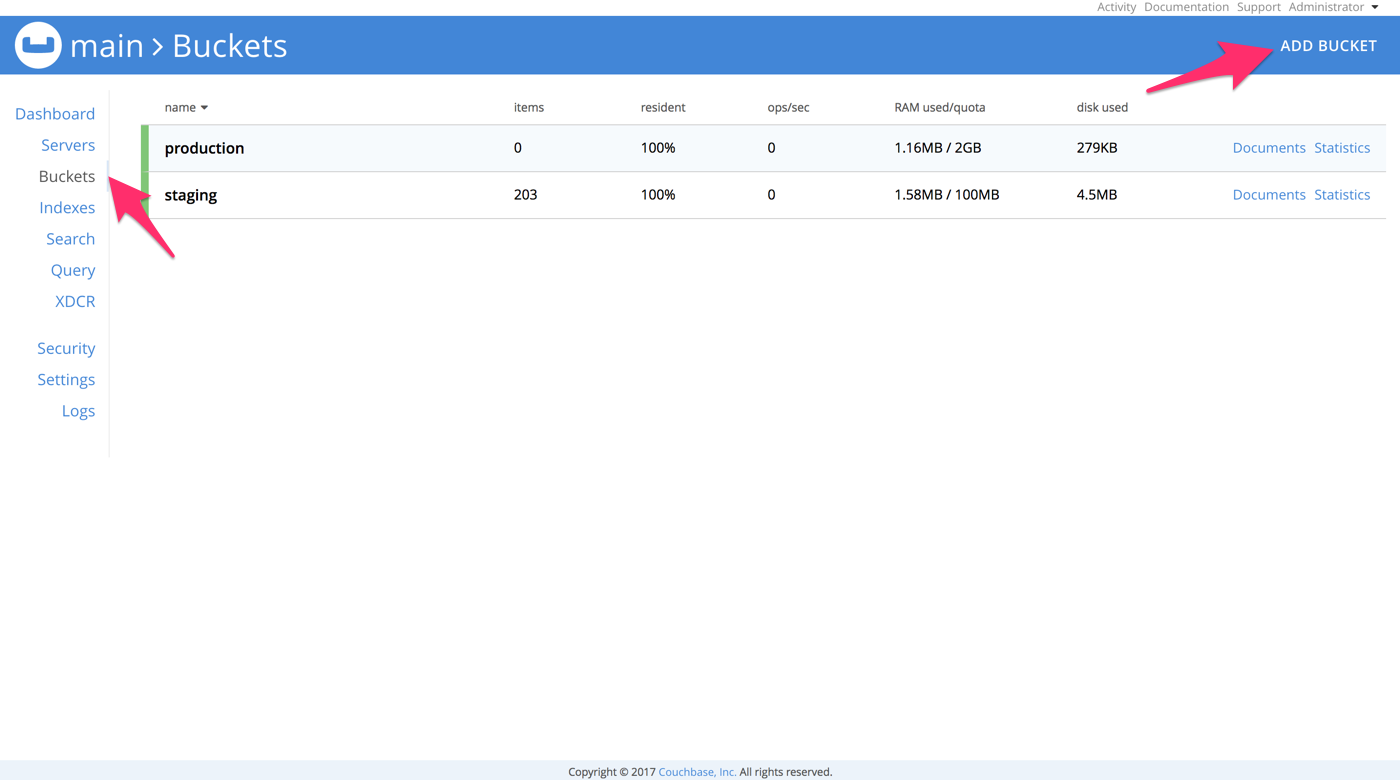
In the toolbar, select the Buckets tab and click the Add Bucket button.
-
Provide a bucket name, for example staging, and leave the other options to their defaults.
-
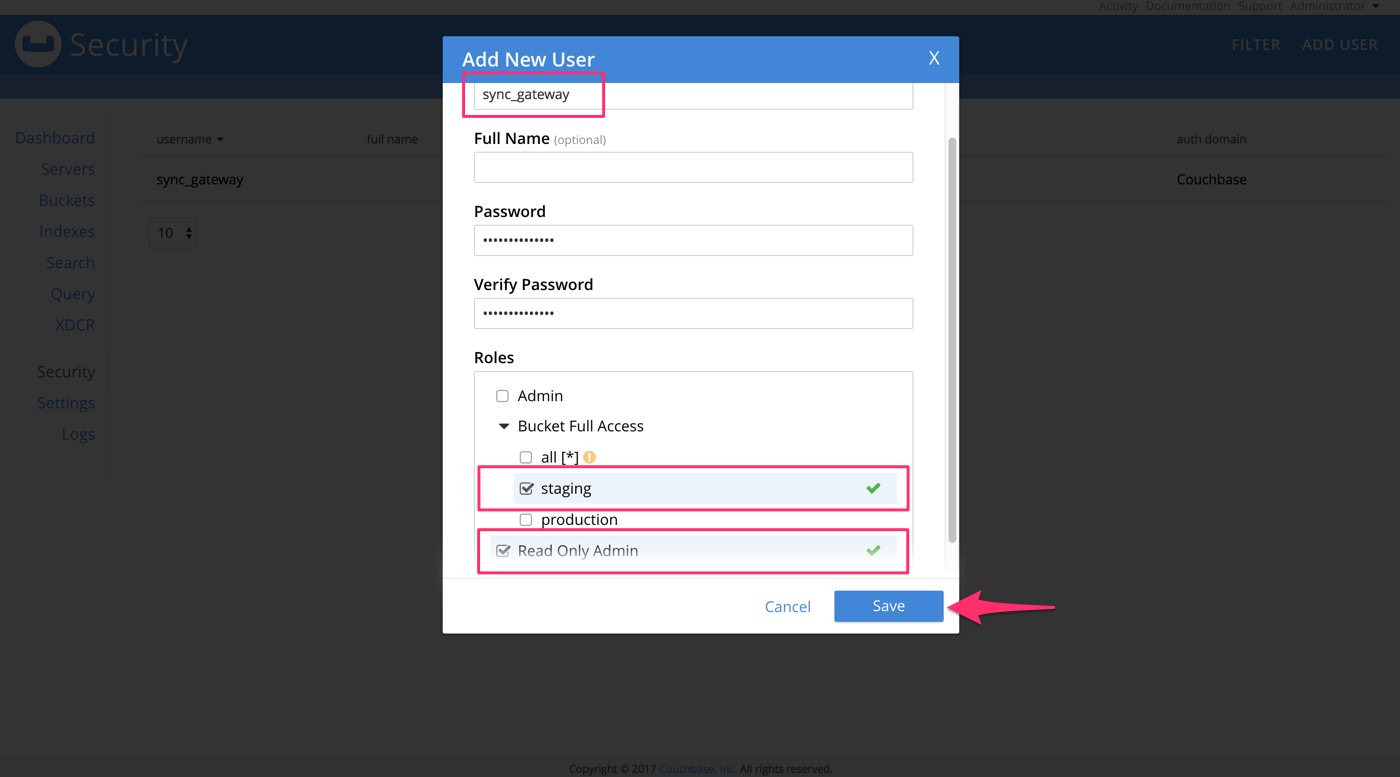
Next, we must create an RBAC user with specific privileges for Sync Gateway to connect to Couchbase Server. Open the Security tab and click the Add User button.

-
The steps to create the RBAC user differ slightly depending on the version of Couchbase Server that you have installed. We explain the differences below.
In the pop-up window, provide a Username and Password, those credentials will be used by Sync Gateway to connect later on. Next, you must grant RBAC roles to that user. If you are using Couchbase Server 5.1, you must enable the Bucket Full Access and Read Only Admin roles.
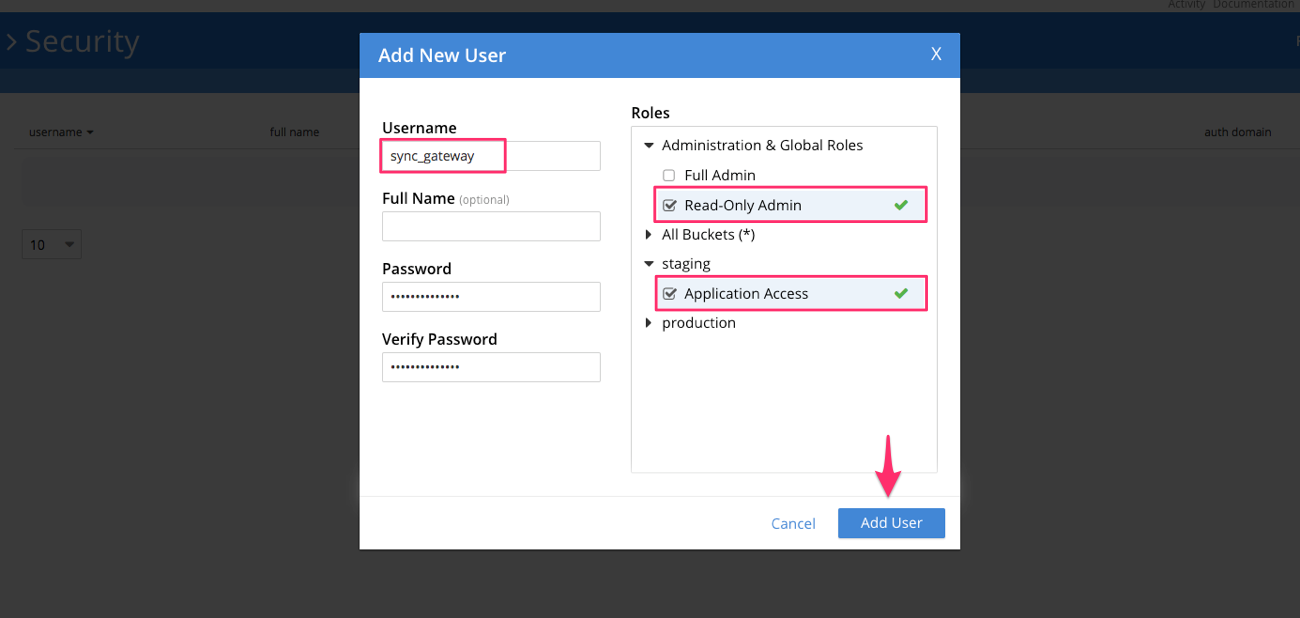
In the pop-up window, provide a Username and Password, those credentials will be used by Sync Gateway to connect later on. Next, you must grant RBAC roles to that user. If you are using Couchbase Server 5.5, you must enable the Application Access and Read Only Admin roles.
-
If you’re installing Couchbase Server on the cloud, make sure that network permissions (or firewall settings) allow incoming connections to Couchbase Server ports. In a typical mobile deployment on premise or in the cloud (AWS, RedHat, etc.), the following ports must be opened on the host for Couchbase Server to operate correctly: 8091, 8092, 8093, 8094, 11207, 11210, 11211, 18091, 18092, 18093. You must verify that any firewall configuration allows communication on the specified ports. If this is not done, the Couchbase Server node can experience difficulty joining a cluster. You can refer to the Couchbase Server Network Configuration guide to see the full list of available ports and their associated services.
Start Sync Gateway
The following steps explain how to connect Sync Gateway to the Couchbase Server instance that was configured in the previous section.
-
Open a new file called sync-gateway-config.json with the following.
{
    log: [*],
    databases: {
        staging: {
            server: http://localhost:8091,
            bucket: staging,
            username: sync_gateway,
            password: secretpassword,
            enable_shared_bucket_access: true,
            import_docs: continuous,
            users: { GUEST: { disabled: false, admin_channels: [*] } },
            sync: `function (doc, oldDoc) {
                if (doc.sdk) {
                    channel(doc.sdk);
                }
            }`
        }
    }
}
This configuration contains the user credentials of the sync_gateway user you created previously. It also enables shared bucket access; this feature was introduced in Sync Gateway 1.5 to allow Couchbase Server SDKs to also perform operation on this bucket.
-
Start Sync Gateway from the command line, or if Sync Gateway is running in a service replace the configuration file and restart the service.
~/Downloads/couchbase-sync-gateway/bin/sync_gateway ~/path/to/sync-gateway-config.json -
Run the application where Couchbase Lite is installed. You should then see the documents that were replicated on the Sync Gateway admin UI at http://localhost:4985/_admin/.