Initializing the Cluster
Following installation, the Couchbase cluster must be initialized. Multiple methods are available for initializing the cluster, such as using the Couchbase Web Console, Couchbase Command Line Interface (CLI), and Couchbase REST API.
|
The content on this page assumes that you’re using Couchbase Server Enterprise Edition (EE). For example, it discusses features that are either not available or not supported in Community Edition (CE). However, most of the information still generally applies to CE. |
Initializing the Cluster Using the Couchbase Web Console
The Couchbase Web Console is, by default, available on port 8091.
Therefore, if a Couchbase node can be identified on the network as server-a, you can access the Web Console by opening http://server-a:8091/ in a supported web browser.
Alternatively, you can use an IP address or, if you’re working on the node itself, http://localhost:8091.
If you’ve chosen to run Couchbase on a port other than 8091, make sure to connect on that specific port.
Once you’ve connected, the Welcome screen appears:
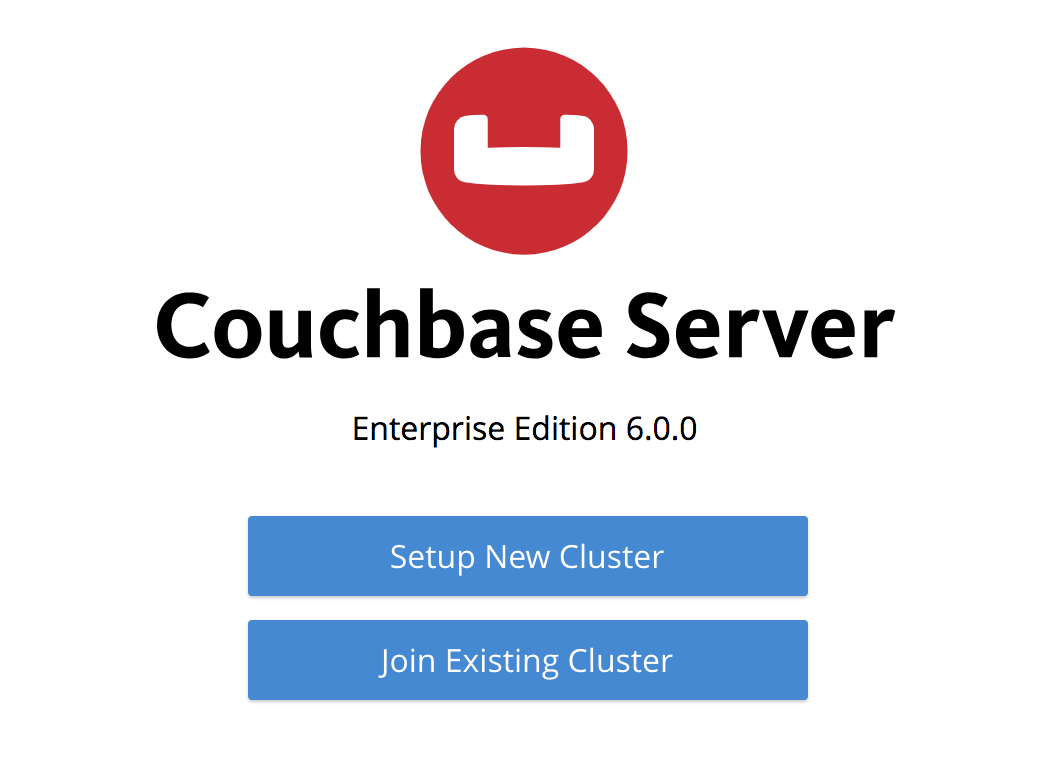
From the Welcome screen, you have the option to either set up a new cluster, or join the node to an existing cluster. Information about joining an existing cluster is provided below, in the section Join an Existing Cluster. To set up a new cluster, click Setup New Cluster.
Set Up a New Cluster
The New Cluster screen now appears:
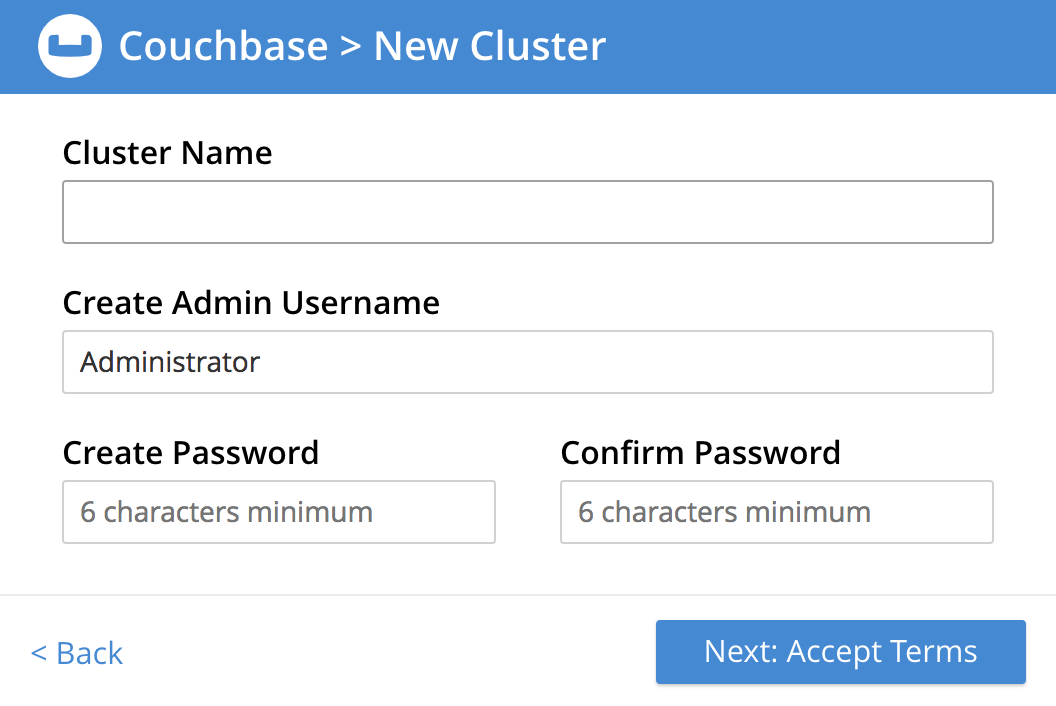
The following fields are displayed:
-
Cluster Name: Enter a name for the cluster that is being created.
-
Create Admin Username: Enter a username for the first user account; the default username
Administratoris provided.This account is a Full Administrator and has read-write access to all Couchbase Server resources, including the ability to create new users with defined roles and corresponding privileges.
Usernames cannot be more than 128 UTF-8 characters in length, and cannot contain the following characters:
( ) < > @ , ; : \ " / [ ] ? = { }. Usernames that are 64 UTF-8 characters or less are ideal, as it ensures successful onscreen display in the various user interfaces. -
Create Password: Enter a password for the new user account.
The default password policy only requires that the password be at least six characters in length.
Following cluster-initialization, you can modify (and indeed strengthen) the default password-policy with the
setting-password-policycommand in the Couchbase CLI.
Once you’ve filled out each field, click Next: Accept Terms.
Accept Terms
The New Cluster screen now presents the Terms and Conditions:
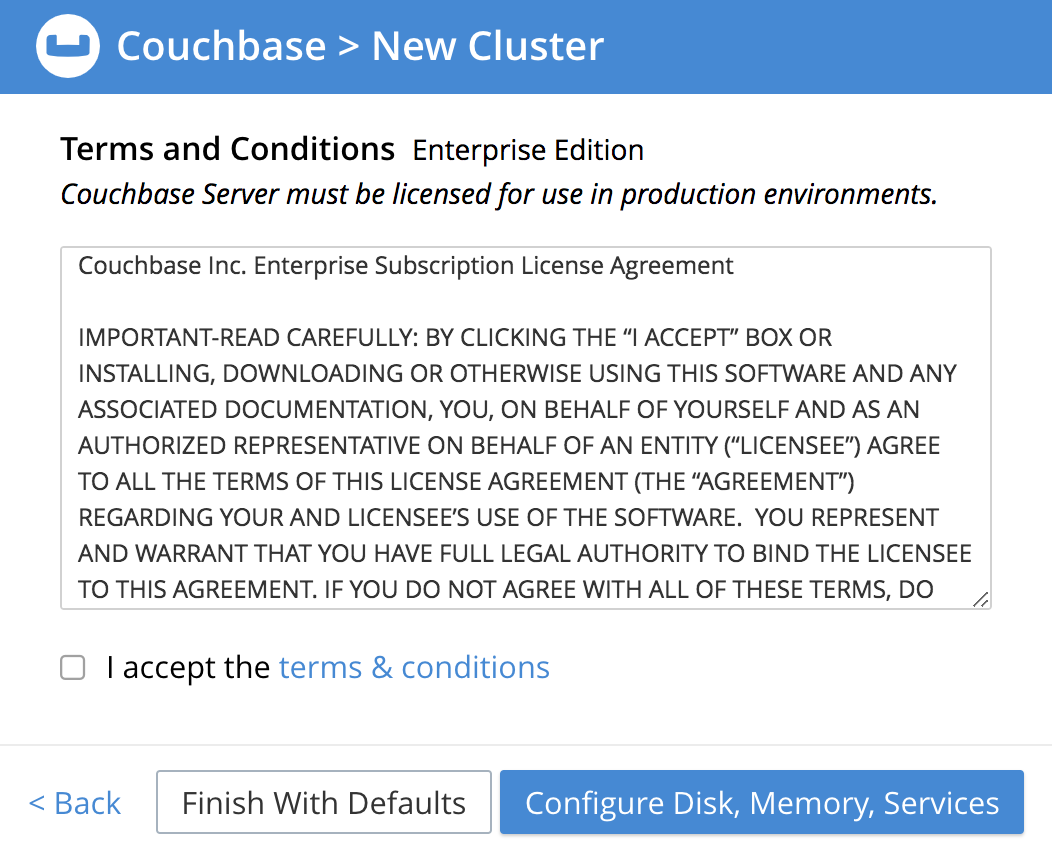
Read the terms and conditions. If you accept them, check the I accept the terms & conditions checkbox.
You now have two options for proceeding:
-
Finish With Defaults: Clicking this button initializes the cluster using the default settings provided by Couchbase.
This option is best if you’re just trying out the basic features and functionality of Couchbase Server.
The initialization is complete once the Dashboard screen appears.
-
Configure Disk, Memory, Services: Click this button to customize the cluster configuration according to your needs.
This guide assumes that you select this option.
Configure Couchbase Server
The Configure screen now appears:
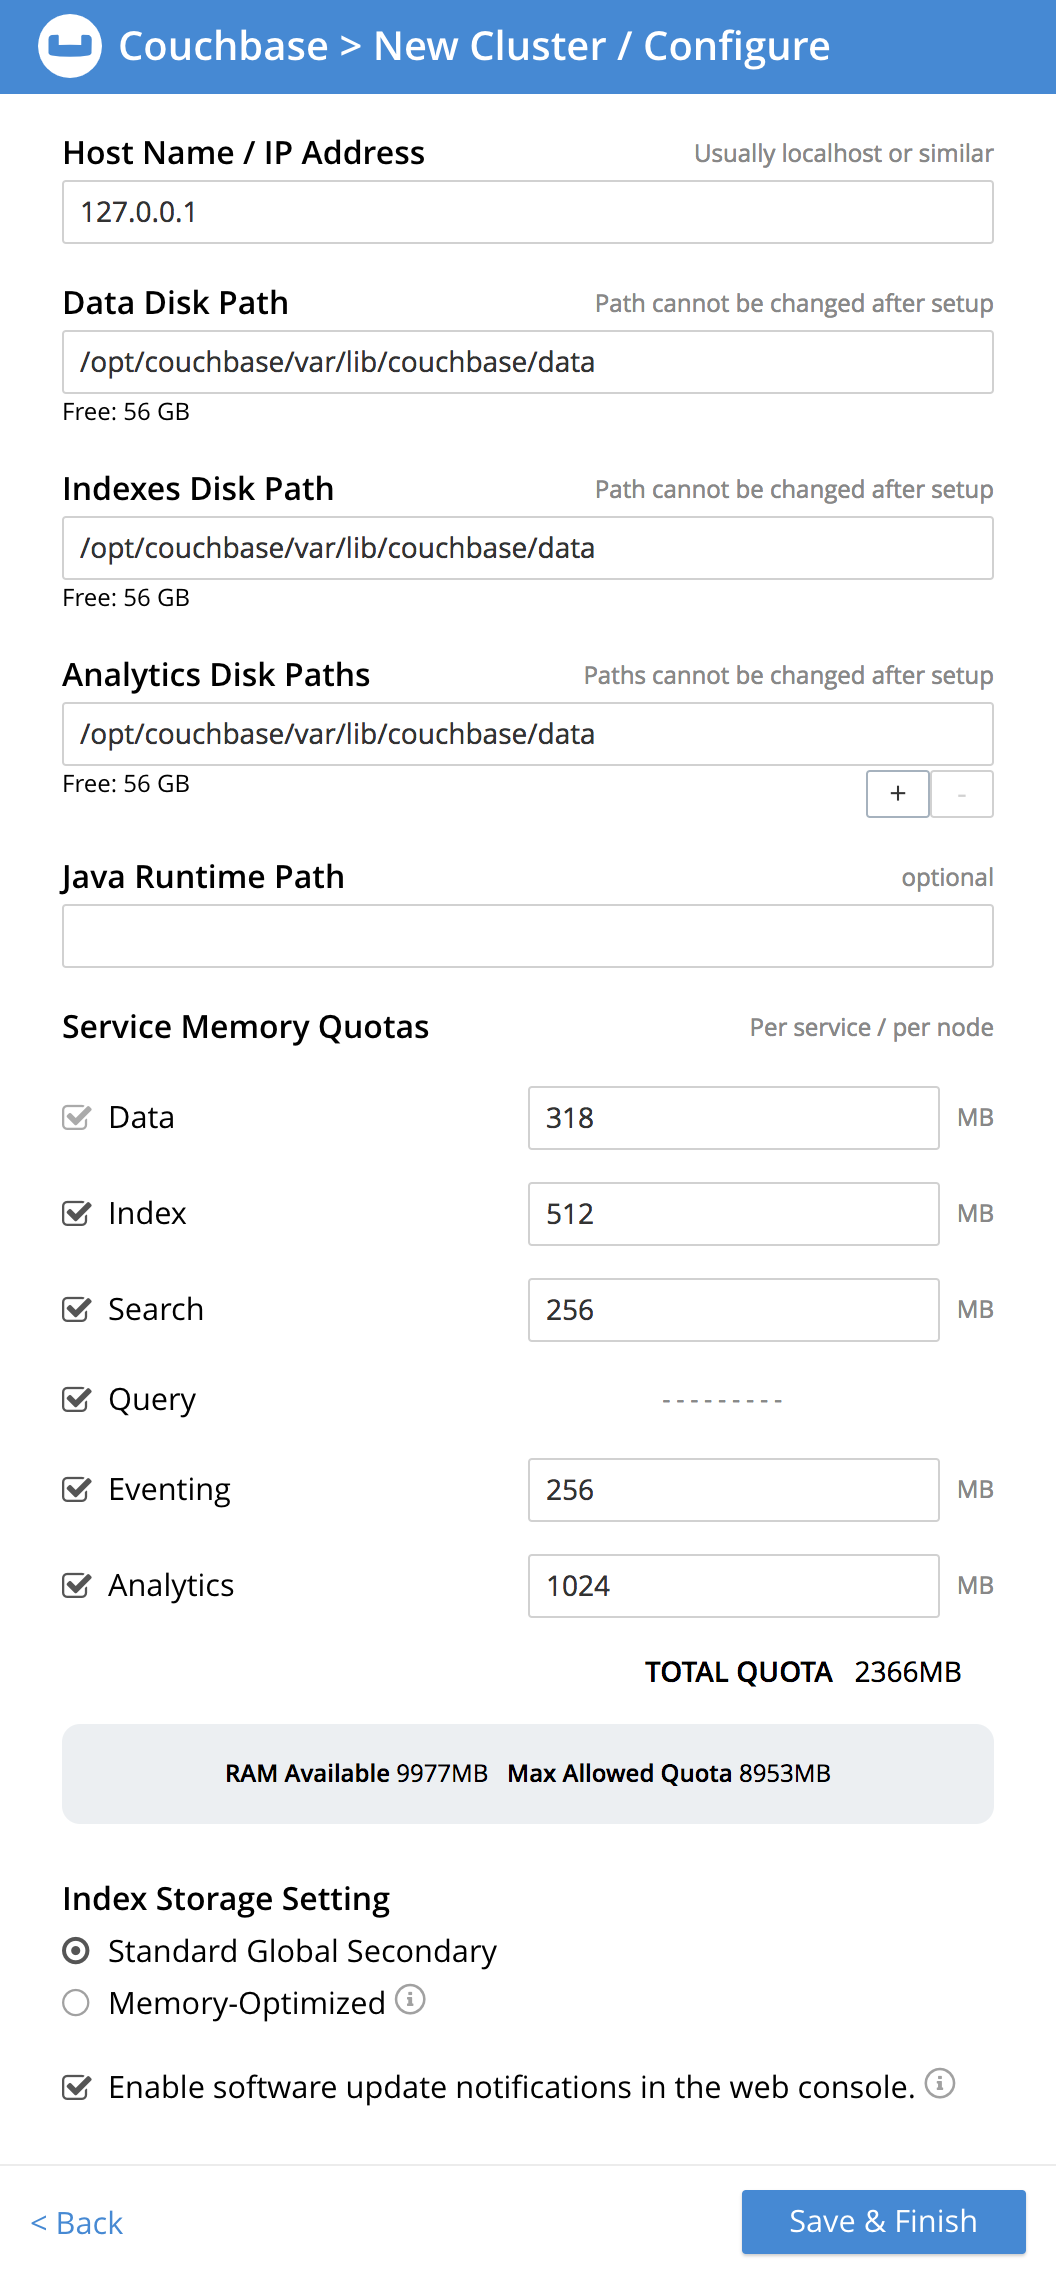
The following fields and settings are displayed:
-
Host Name / IP Address: Enter the hostname or IP address for the node on which you’re configuring Couchbase Server.
-
Data Disk Path: Enter the location on the current node where you want the database files to be stored; an OS-specific default is provided.
-
Indexes Disk Path: Enter the location on the current node where you want the indexes to be stored; an OS-specific default is provided.
For production environments, it is recommended that database files and indexes not share the same location.
-
Analytics Disk Paths: Enter the location on the current node where you want Analytics data to be stored; an OS-specific default is provided.
You can enter more than one location to store Analytics data. Click + to specify an additional location for Analytics data, or click - to remove a location.
-
Java Runtime Path: If desired, enter the location for an alternative Java Runtime Environment (JRE) on the current node that you want to use for the Analytics Service.
Couchbase Server is supplied with the Oracle Java 8 JRE. If you don’t specify a location for an alternative JRE, the supplied JRE is used by default.
-
Service Memory Quotas: Select the Couchbase Services that you want enabled on the current node, and specify how much memory should be allocated to each of those services.
Each service can be selected by checking the appropriate checkbox, and then specifying the amount of memory, in megabytes, to be assigned to each service. In each case, a default memory quota is suggested, and a minimum quota is required.
For production systems, it is recommended that you allocate only one service per node. Refer to the Couchbase Server sizing guidelines for help with determining appropriate service and memory allocation.
The memory quotas that you specify for the current node will also be used for each subsequent node that you add to the cluster.
-
Data: Selection and RAM-allocation to support the Couchbase Data Service.
Since you’re starting a new cluster, the Data Service (which is essential for the cluster) is automatically selected and its checkbox is disabled.
-
Index: Selection and RAM-allocation to support Global Secondary Indexes (GSIs).
This should be 256 MB or more.
-
Search: Selection and RAM-allocation to support Full Text Search.
This should be 256 MB or more.
-
Query: Selection to support the querying of data by means of the N1QL query language.
No RAM-allocation is required for this service.
-
Eventing: Selection and RAM-allocation to support the Eventing Service.
The memory quota should be 256 MB or more.
-
Analytics: Selection and RAM-allocation to support the Analytics Service.
The memory quota should be 1024 MB or more.
The sum of all of the memory allocations is displayed as the TOTAL QUOTA. This number must be less than the displayed Max Allowed Quota.
-
-
Index Storage Setting: Select either Standard Global Secondary or Memory-Optimized.
This setting is only configurable if you previously selected Index.
See Global Secondary Indexes, for details.
-
Enable software update notifications in the web console: Check this checkbox to allow notifications in the Couchbase Web Console when a new version of Couchbase Server is available.
Configuration information transferred in the update check is anonymous and doesn’t include any stored key-value data.
Once you’ve finished entering all of your configuration details, click Save & Finish.
The initialization is complete once the Dashboard screen appears:
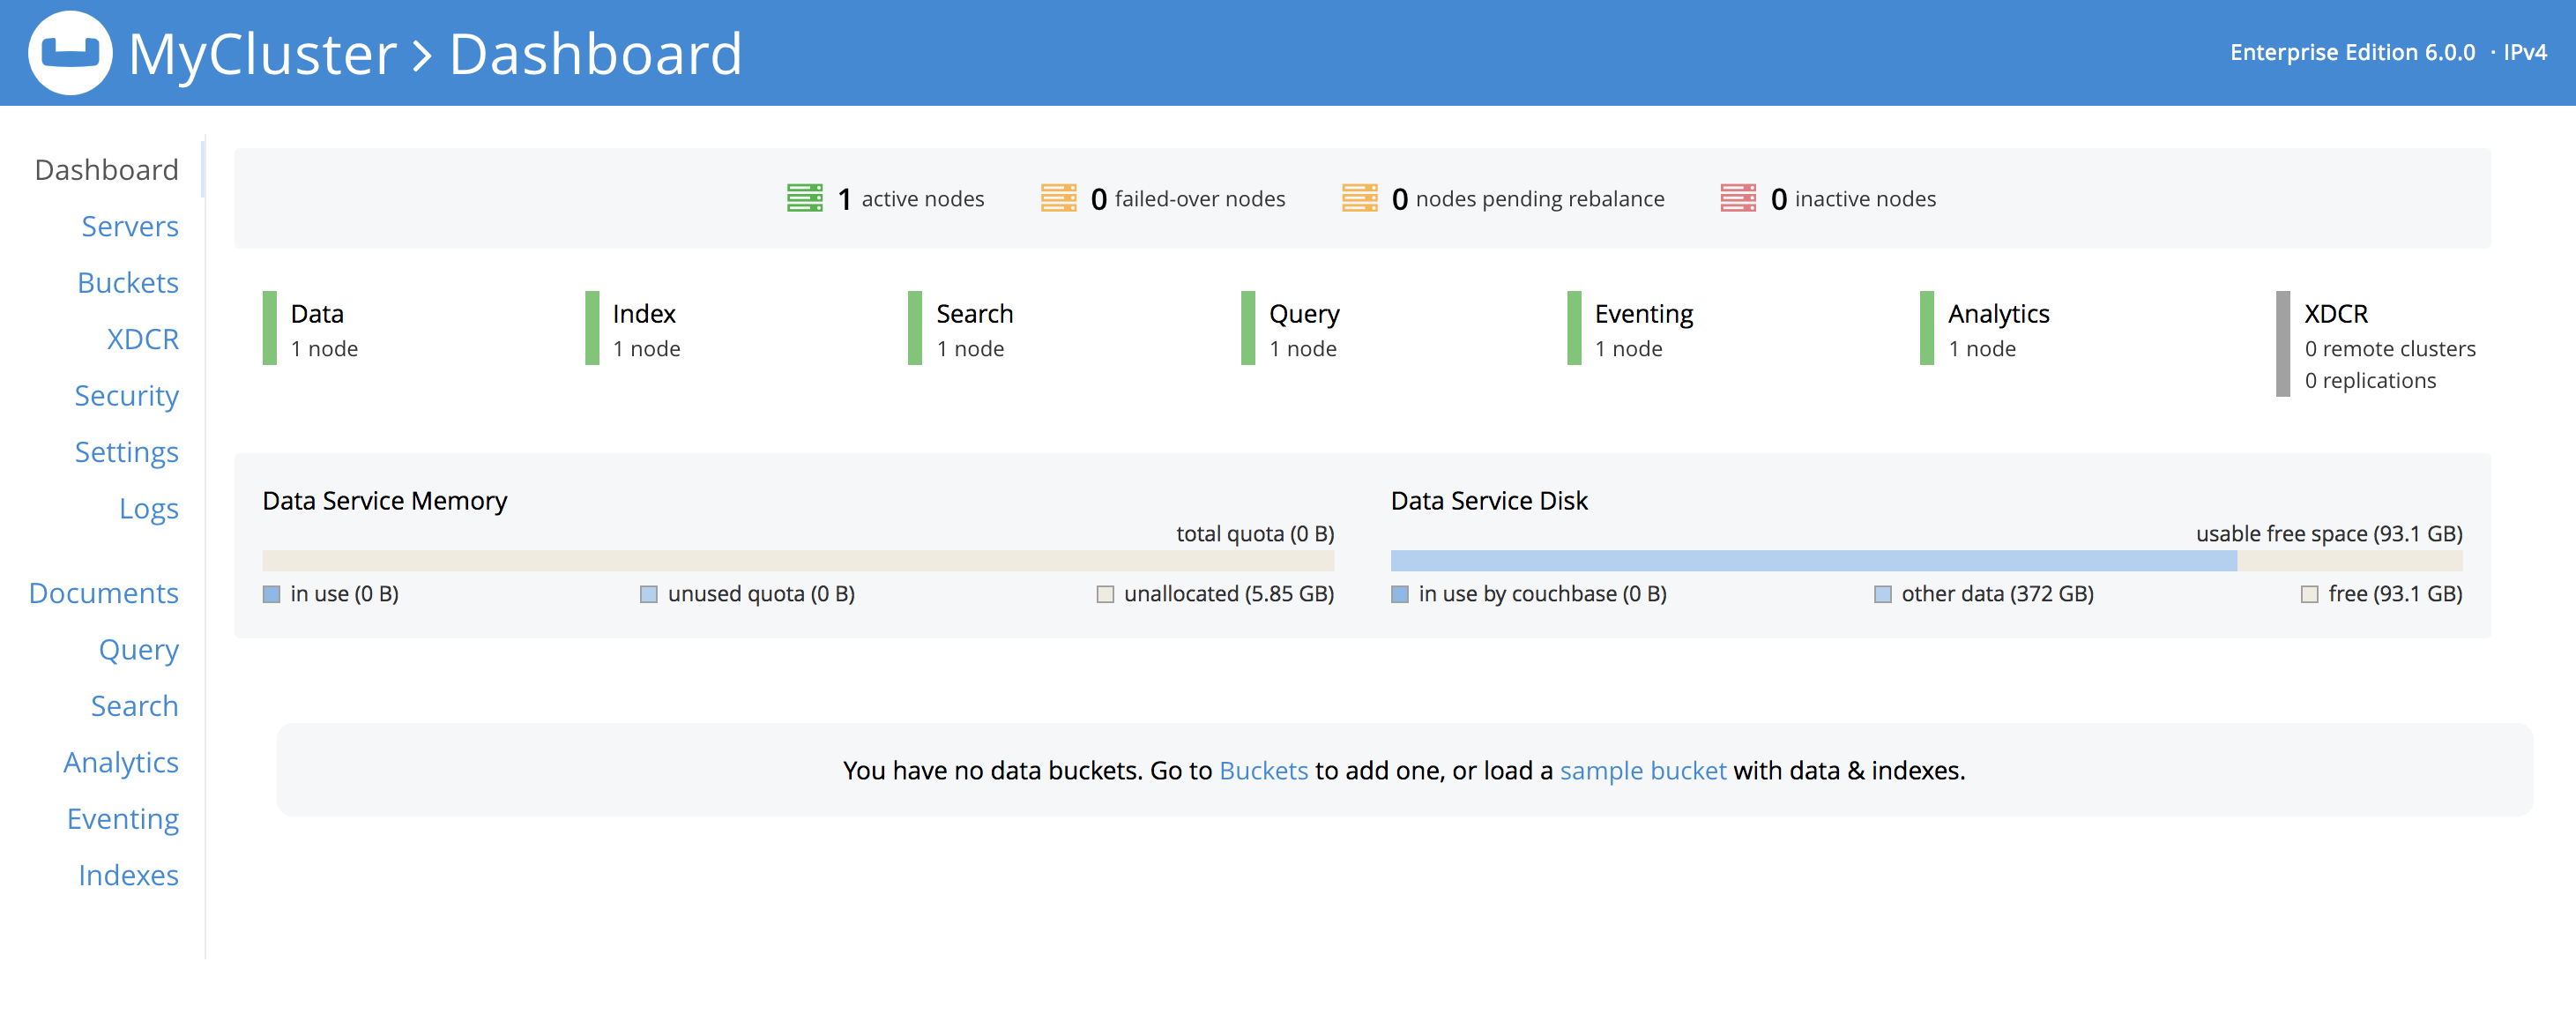
New Cluster Setup: Next Steps
If this is the first node in the cluster, a message will display on the Dashboard stating that you have no data buckets. A bucket is the principal unit of data-storage used by Couchbase Server. In order to save and subsequently access documents and other objects in Couchbase, you must create one or more buckets.
To begin creating buckets, click Buckets in the left-hand navigation bar to bring up the Buckets screen. You can click ADD BUCKET to begin setting up a custom bucket, or you can click sample bucket to create a bucket that is pre-populated with documents so that you can immediately begin trying out other Couchbase functionality, like running a query.
The buckets that you create must be accessed securely; therefore, Couchbase Server provides a system of role-based access control (RBAC), which must be used by administrators and applications that wish to access buckets.
Each administrator and application is considered to be a user, and must be authorized to gain access to the data within Couchbase. See Authorization.
Join an Existing Cluster
From the Welcome Screen, click Join Existing Cluster. The Join Cluster screen now appears:
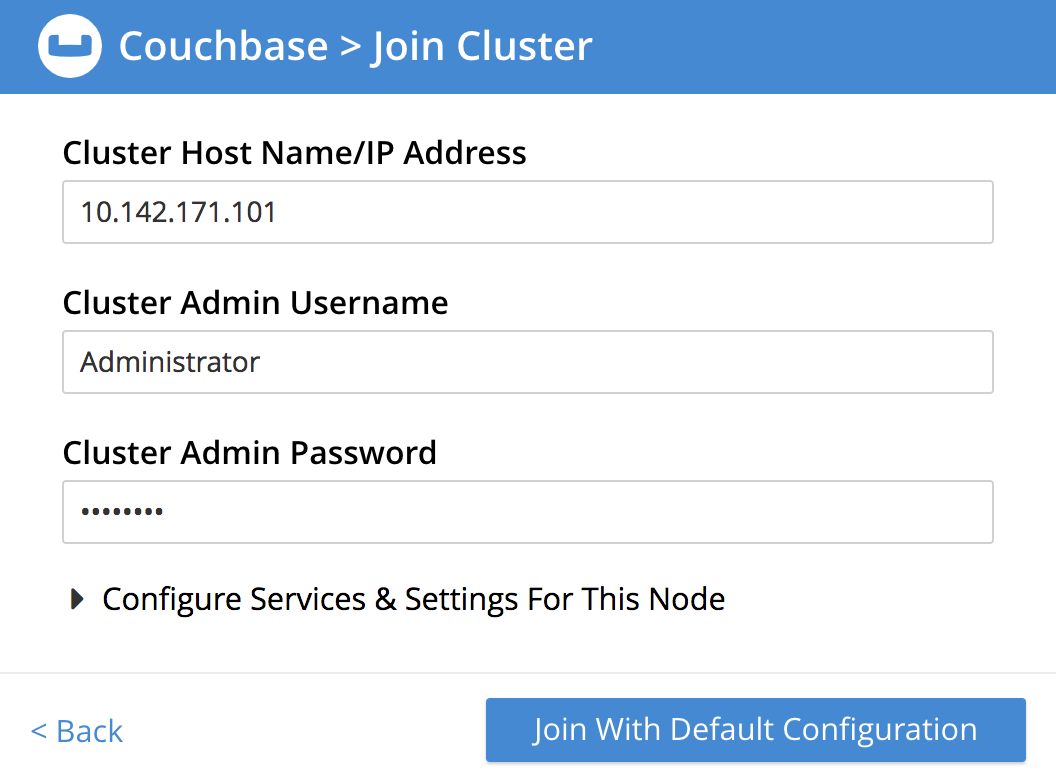
The available fields (Cluster Host Name/IP Address, Cluster Admin Username, Cluster Admin Password) require you to enter information about the existing cluster. This information is typically defined by the Full Administrator when the original cluster host is set up.
Once you’ve entered the appropriate details, you can click Join With Default Configuration, which will configure the new node with a default set of services and settings, and then join it to the cluster. However, this default configuration is not recommended for production environments, since you’ll likely want to run a specific Couchbase service on the new node.
To view and make changes to the configuration, expand the Configure Services & Settings For This Node panel:

The following fields and settings are displayed:
-
Services: Check the box for each Couchbase service that you want to run on the new node.
-
This Node: Host Name/IP Address: Enter the host name or IP address of the current (new) node.
For production systems, it is recommended that you allocate only one service per node.
-
Data Disk Path: Enter the location on the current node where you want the database files to be stored; an OS-specific default is provided.
-
Indexes Disk Path: Enter the location on the current node where you want the indexes to be stored; an OS-specific default is provided.
For production environments, it is recommended that database files and indexes not share the same location.
-
Analytics Disk Paths: Enter the location on the current node where you want Analytics data to be stored; an OS-specific default is provided.
You can enter more than one location to store Analytics data. Click + to specify an additional location for Analytics data, or click - to remove a location.
|
You’ll notice when joining a new node to an existing cluster, that the checkboxes for the services are not accompanied by fields for setting memory quotas like they were when setting up a new cluster. This is because the new node expects to inherit the memory quotas that were set for those services when they were configured elsewhere in the cluster (such as from the the original cluster host). However, in cases where you’re adding a node with a service that hasn’t previously been configured in the cluster, you’ll be prompted to enter a memory quota. |
Once you’ve finished entering all of your configuration details, click Join With Custom Configuration.
If you specified services for this node that weren’t previously defined for the cluster, the New Service Settings dialog appears:

This dialog acknowledges that new services have been added to the cluster for the first time, and provides the opportunity to edit the settings for those services, such as setting memory quotas. Note that any settings modifications you make here are also applied to each node in the cluster.
Once you’ve finished making changes in the New Service Settings dialog, click Save Settings.
Once the Dashboard screen appears, the new node has been successfully added the existing cluster.
Initializing the Cluster Using the CLI
Rather than using the Couchbase Web Console, you may elect to initialize your Couchbase cluster by means of the Couchbase Command Line Interface (CLI).
First you must use the cli:cbcli/couchbase-cli-node-init.adoc command to initialize the first node in the cluster. The following CLI syntax sets the locations where data files for each service will be stored on the node, sets the location of an alternative JRE on the node, and specifies the hostname that the cluster will use for this node.
couchbase-cli node-init
    --cluster url (1)
    --username user (2)
    --password password (3)
    --node-init-data-path path (4)
    --node-init-index-path path (5)
    --node-init-analytics-path path (6)
    --node-init-hostname hostname (7)
--node-init-java-home path (8)| 1 | Hostname of first node in cluster. |
| 2 | User executing the command. |
| 3 | Password of user executing the command. |
| 4 | Location where database files will be stored. |
| 5 | Location where indexes will be stored. |
| 6 | Location where Analytics data will be stored. |
| 7 | Hostname that the cluster will use for this node. |
| 8 | Location of alternative JRE for the Analytics service. |
After initializing the first node, you can use the cli:cbcli/couchbase-cli-cluster-init.adoc command to initialize the cluster. The following CLI syntax allows the establishing of administrative credentials and port number. It adds all services, sets separate RAM quotas for Data, Index, Search, Eventing, and Analytics services, and sets the Index Storage Setting, the default being to support memory-optimized global indexes.
couchbase-cli cluster-init
    --cluster url (1)
    --cluster-username user (2)
    --cluster-password password (3)
    --cluster-port port (4)
    --cluster-ramsize ramsizemb (5)
    --cluster-name ramsizemb (6)
    --cluster-index-ramsize ramsizemb (7)
    --cluster-fts-ramsize ramsizemb (8)
    --cluster-eventing-ramsize ramsizemb (9)
    --cluster-analytics-ramsize ramsizemb (10)
    --index-storage-setting settings (11)
--services data,index,query,fts,analytics (12)| 1 | Hostname of first node in cluster. |
| 2 | New cluster administrator username. |
| 3 | New cluster administrator password. |
| 4 | New cluster REST/http port. |
| 5 | Per-node data service RAM quota in MB. |
| 6 | Per-node data service RAM quota in MB. |
| 7 | Per-node index service RAM quota in MB. |
| 8 | Per-node search service RAM quota in MB. |
| 9 | Per-node eventing service RAM quota in MB. |
| 10 | Per-node analytics service RAM quota in MB. |
| 11 | Index storage type: default or memopt. |
| 12 | Services to run on first node in cluster. |
After setting up the cluster, you can use the cli:cbcli/couchbase-cli-node-init.adoc command to initialize further Couchbase Server nodes, and use the cli:cbcli/couchbase-cli-server-add.adoc command to add these nodes to an existing cluster.
Initializing the Cluster Using the REST API
The following REST API examples can be used for the initial set-up of a single-node Couchbase Server cluster with three services, administrative credentials, and a RAM quota:
Syntax
Define the services:
curl -u [admin-name]:[password] -v
  -X POST http://[localhost]:8091/node/controller/setupServices
  -d services=[kv | index | n1ql | fts]
Initialize the node:
curl -v
  -X POST http://[localhost]:8091/nodes/self/controller/settings
  -d path=[location] -d index_path=[location] -d cbas_path=[location]
Set the administrator username and password:
curl -v -X POST http://[localhost]:8091/settings/web
  -d password=[password]
  -d username=[admin-name]
  -d port=[desired-rest-api-port|SAME]
Set the Index RAM quota (to be applied across the entire cluster):
curl -u username=[admin-name]&password=[password]
  -X POST http://[localhost]:8091/pools/default
  -d memoryQuota=[value] -d indexMemoryQuota=[value]
Examples
// Set up services. (Note that %2C is the ASCII Hex mapping to the comma character.)

curl -u Administrator:password -v -X POST http://192.168.42.101:8091/node/controller/setupServices \
-d 'services=kv%2Cn1ql%2Cindex%2Cfts'
// Initialize a node. (Note that %2F is the ASCII Hex mapping to the forward-slash
// character.)
curl -v -X POST http://192.168.42.101:8091/nodes/self/controller/settings \
-d 'path=%2Fopt%2Fcouchbase%2Fvar%2Flib%2Fcouchbase%2Fdata&index_path= \
%2Fopt%2Fcouchbase%2Fvar%2Flib%2Fcouchbase%2Fdata'// Set up your administrator-username and password.
curl -v -X POST http://192.168.42.101:8091/settings/web \
-d 'password=password&username=Administrator&port=SAME'// Set up the index RAM quota (to be applied across the entire cluster).
curl -u Administrator:password -X POST http://127.0.0.1:8091/pools/default \
-d 'memoryQuota=5000' -d 'indexMemoryQuota=269'