Manage Groups
Nodes can be assigned to groups, in order to protect a cluster from large-scale infrastructure failure.
Creating and Maintaining Groups
Groups can be administrator-defined to contain a number of the nodes within a Couchbase Cluster, and thereby protect the cluster against large-scale infrastructure failure. An explanation of Server Group Awareness, and the effect it has on the distribution of vBucket replicas throughout a cluster, is provided in Server Group Awareness.
Server groups and the Server Group Awareness feature are only available in Couchbase Server Enterprise Edition.
Note that when you initialize a new Couchbase Server cluster, the first node is automatically placed in a server group named Group 1. Once you create additional server groups, the Assign Group field becomes available when adding new server nodes to the cluster.
To manage groups, left-click on the Servers tab, in the left-hand navigation bar. This brings up the Servers screen. Now left-click on the Groups tab, at the upper right:

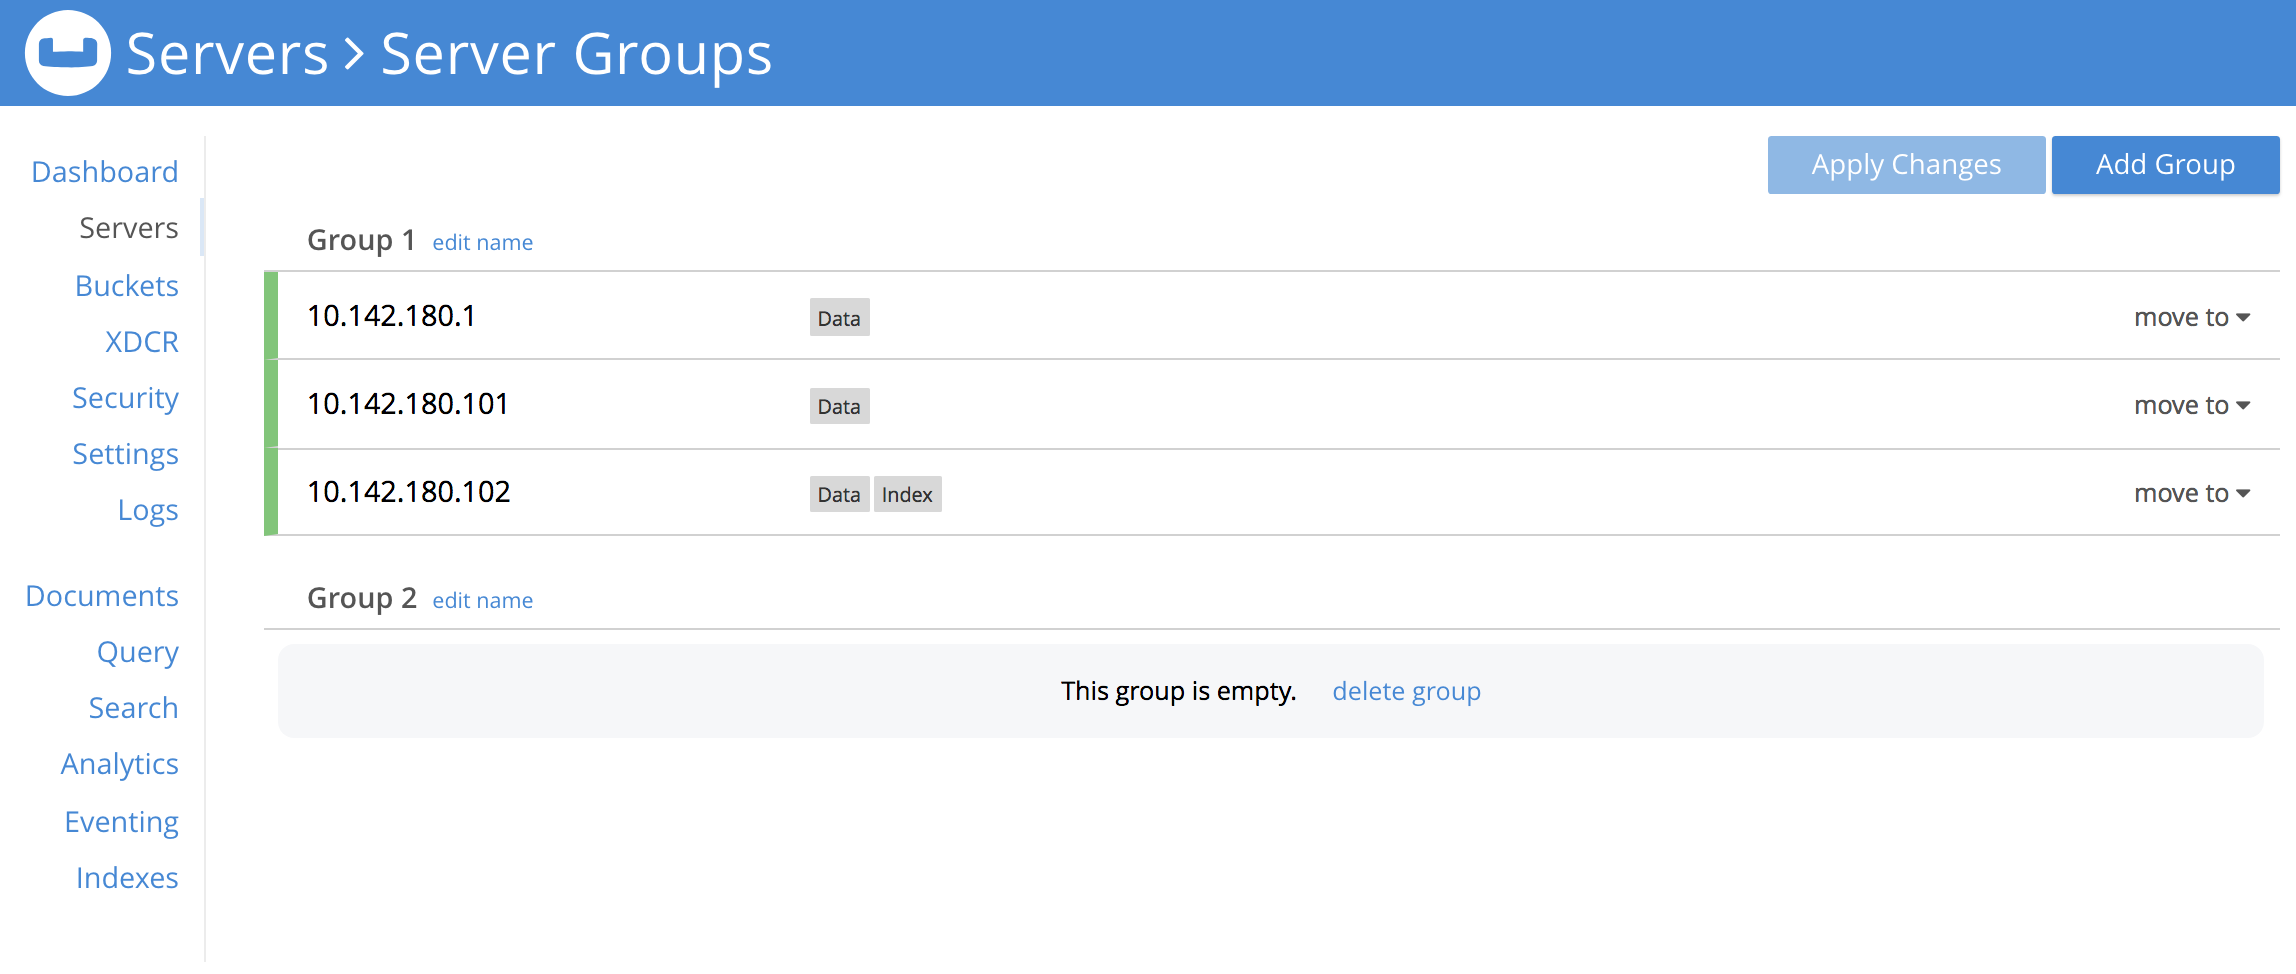
This brings up the Server Groups screen, which might initially appear as follows:
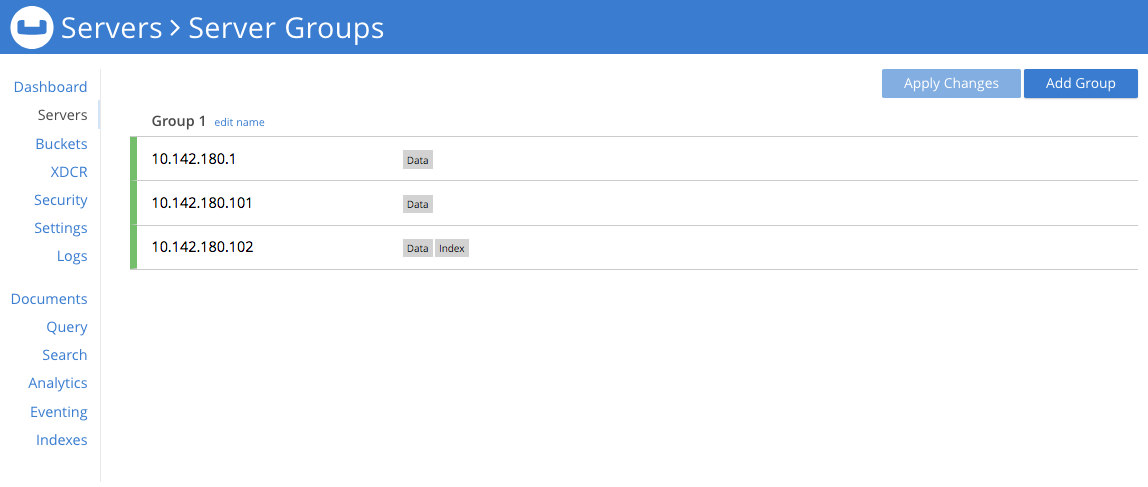
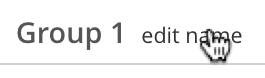
This display indicates that the cluster currently contains three servers. Note that the list of servers is headed by the name Group 1: this is because by default, Couchbase Server puts each new server into a group with this name. To change the name, left-click on the edit name tab, adjacent to the name:
This brings up the Edit Group Name dialog:
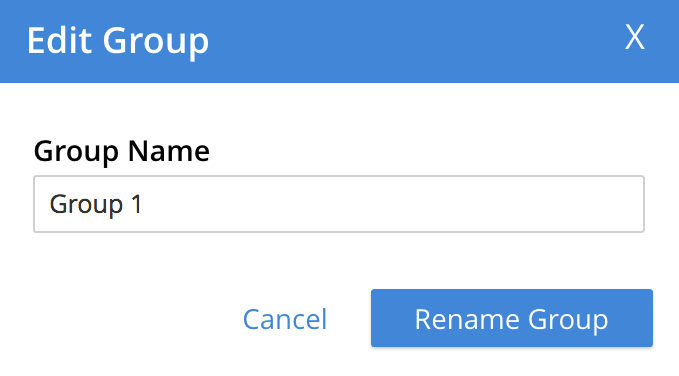
If you wish to change the group name, edit it within the interactive text-field, and then left-click on the Rename Group button.
Add a Group
To add a new group, proceed as follows:
-
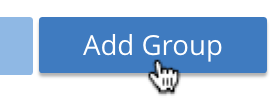
Left-click on the Add Group tab, which is located at the upper right of the Server Groups screen:
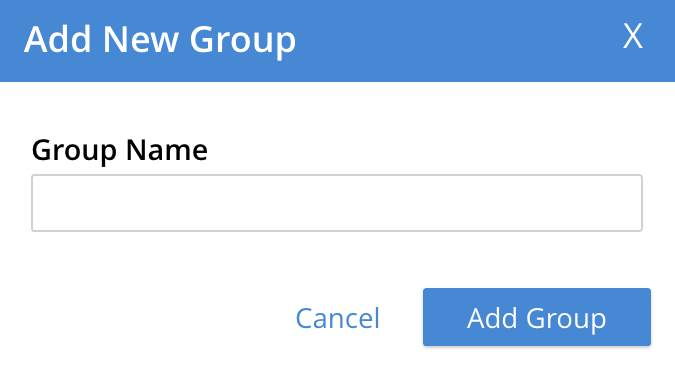
This brings up the Add Group dialog:
-
Access the interactive text-field of the Add Group dialog, and enter an appropriate name for the new group. Then, left-click on the Add Group button, to the lower right of the dialog. The new group is added, the dialog disappears, and the Server Groups screen is now displayed as follows:
Once the information is entered successfully, a new group is added in the Server Groups page.
Move a Server Between Groups
Proceed as follows:
-
On the Server Groups screen, access the move to tab at the right-hand side of the row for the server you wish to move. A pop-up menu appears, listing the available groups to which the server can be moved.
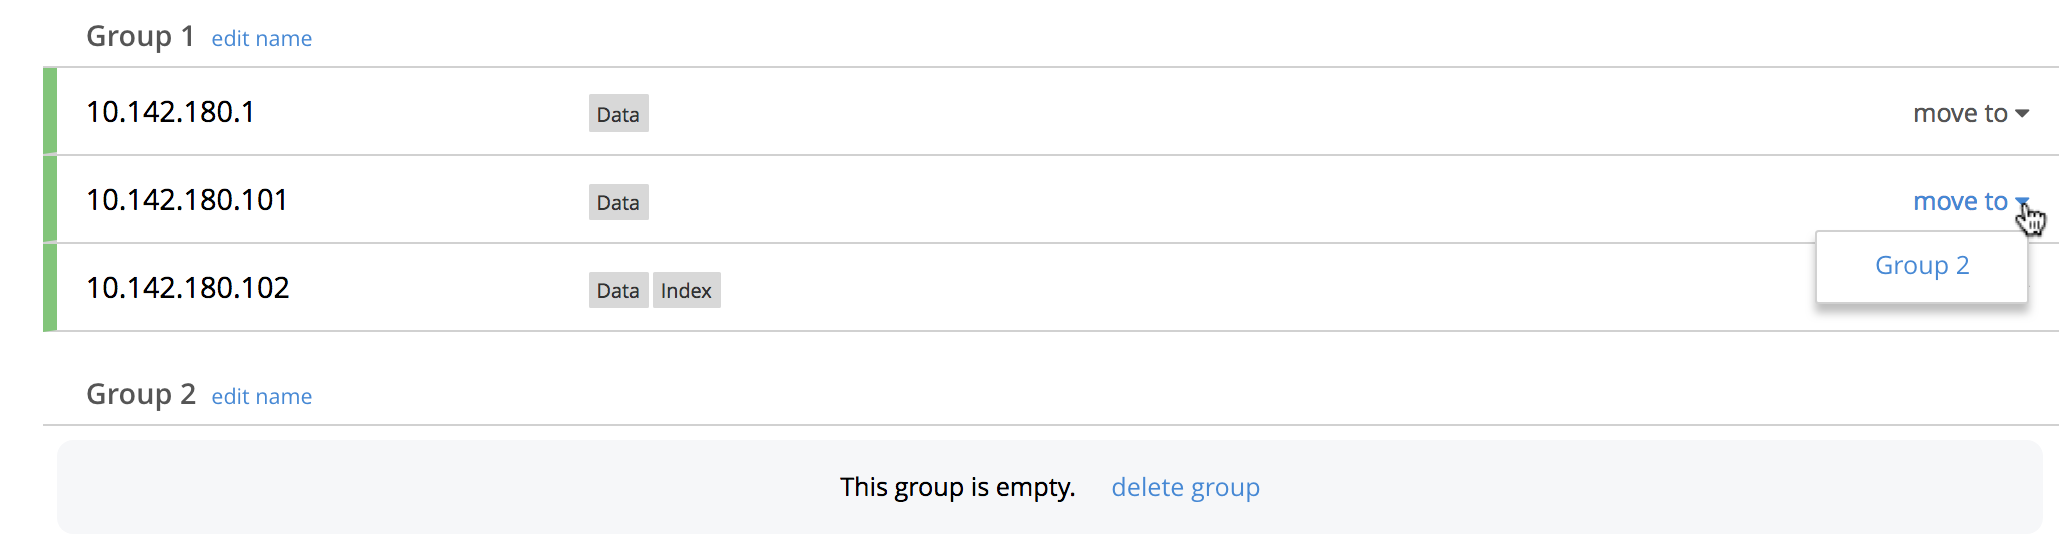
In this case, there is only one available group to which the server can be moved, which is Group 2. Select this group. A pending move notification now appears.

-
Toward the upper right of the Server Groups screen a Reset tab and an Apply Changes button have become available. If you left-click on the Reset tab, the pending move is cancelled, and the selected server remains in its current group. Left-click on the Apply Changes button to complete the move.

-
Return to the Servers screen. Note that a rebalance is now recommended, due to the change you have made:
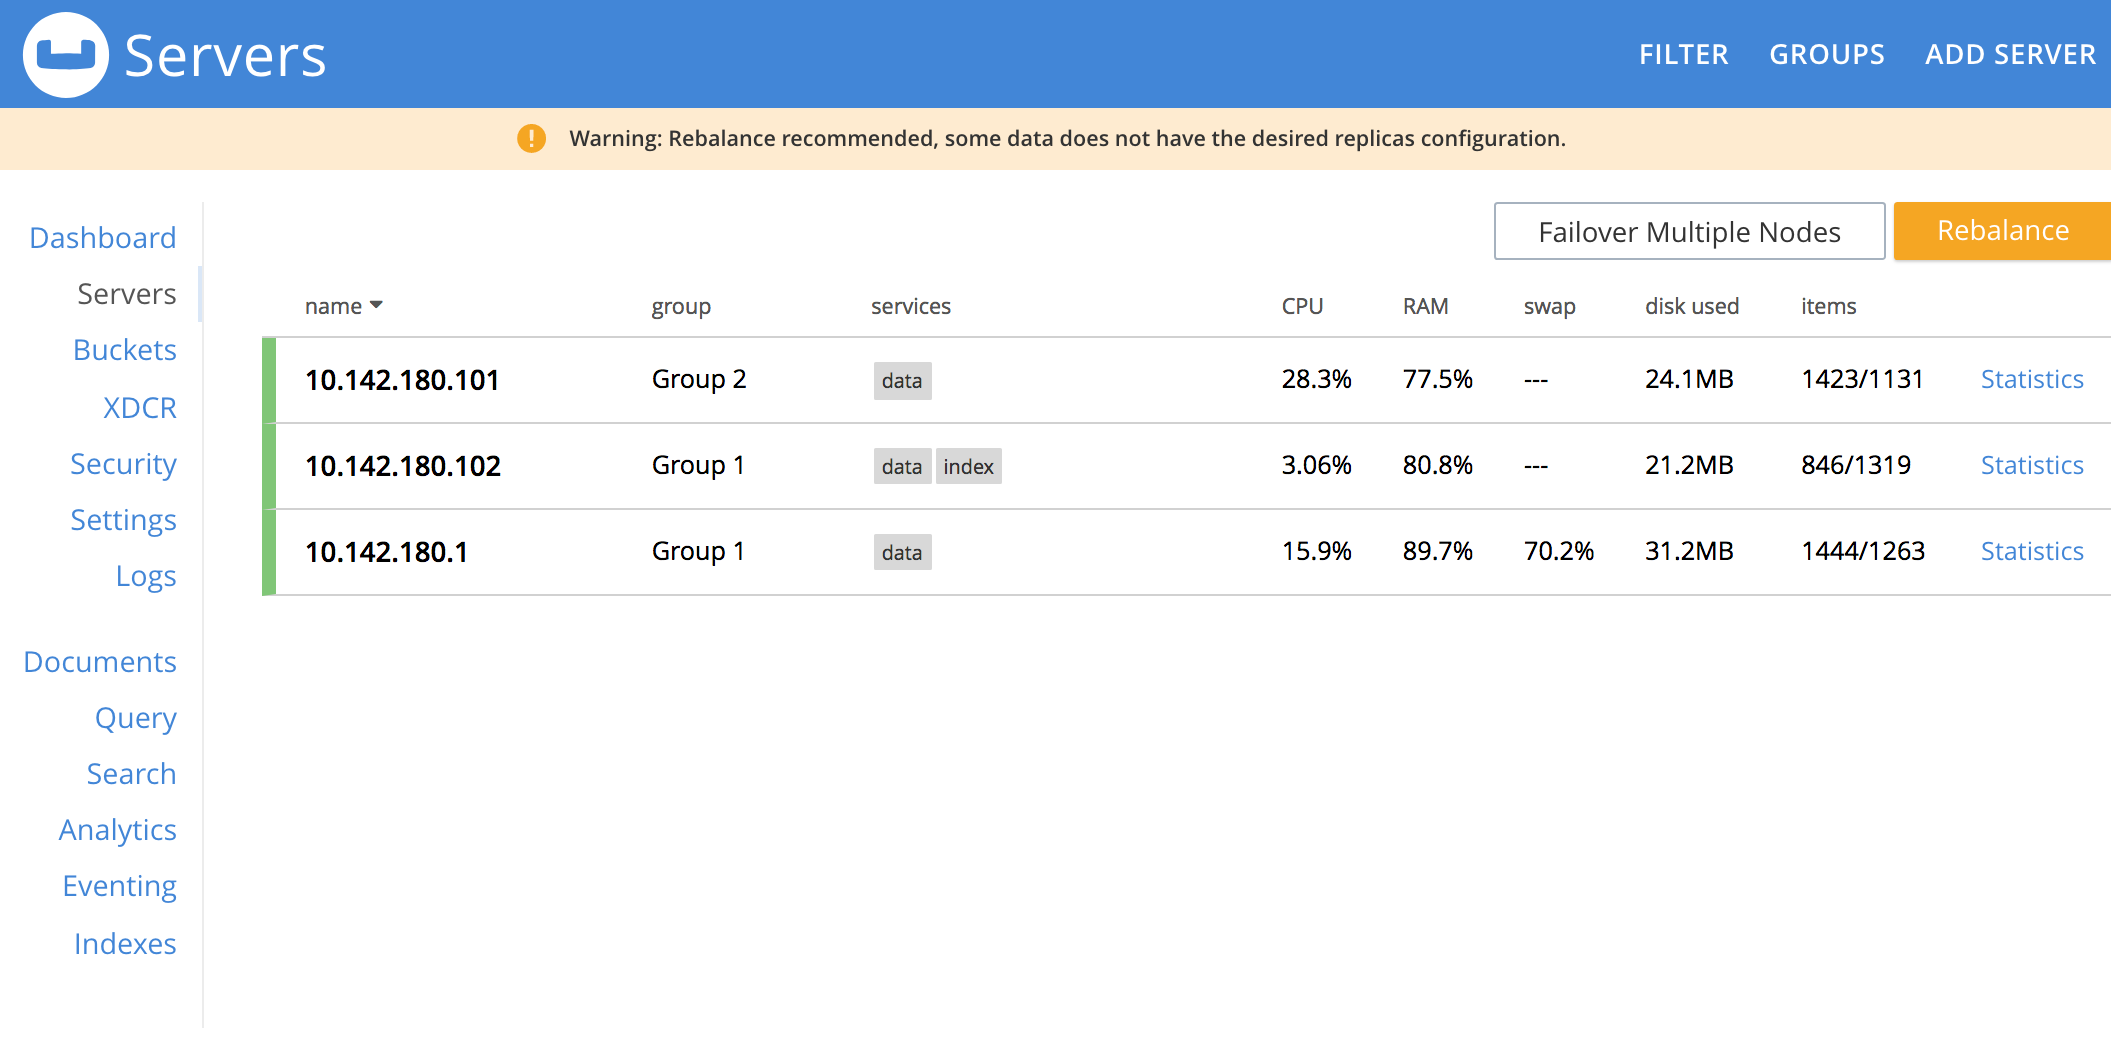
Left-click on the Rebalance button, to start the rebalance.
Delete a Group
To delete a group, first remove all nodes from the group — either by moving them to other groups, or by removing them entirely from the cluster. Then, delete the group. To delete a group by removing servers, proceed as follows.
-
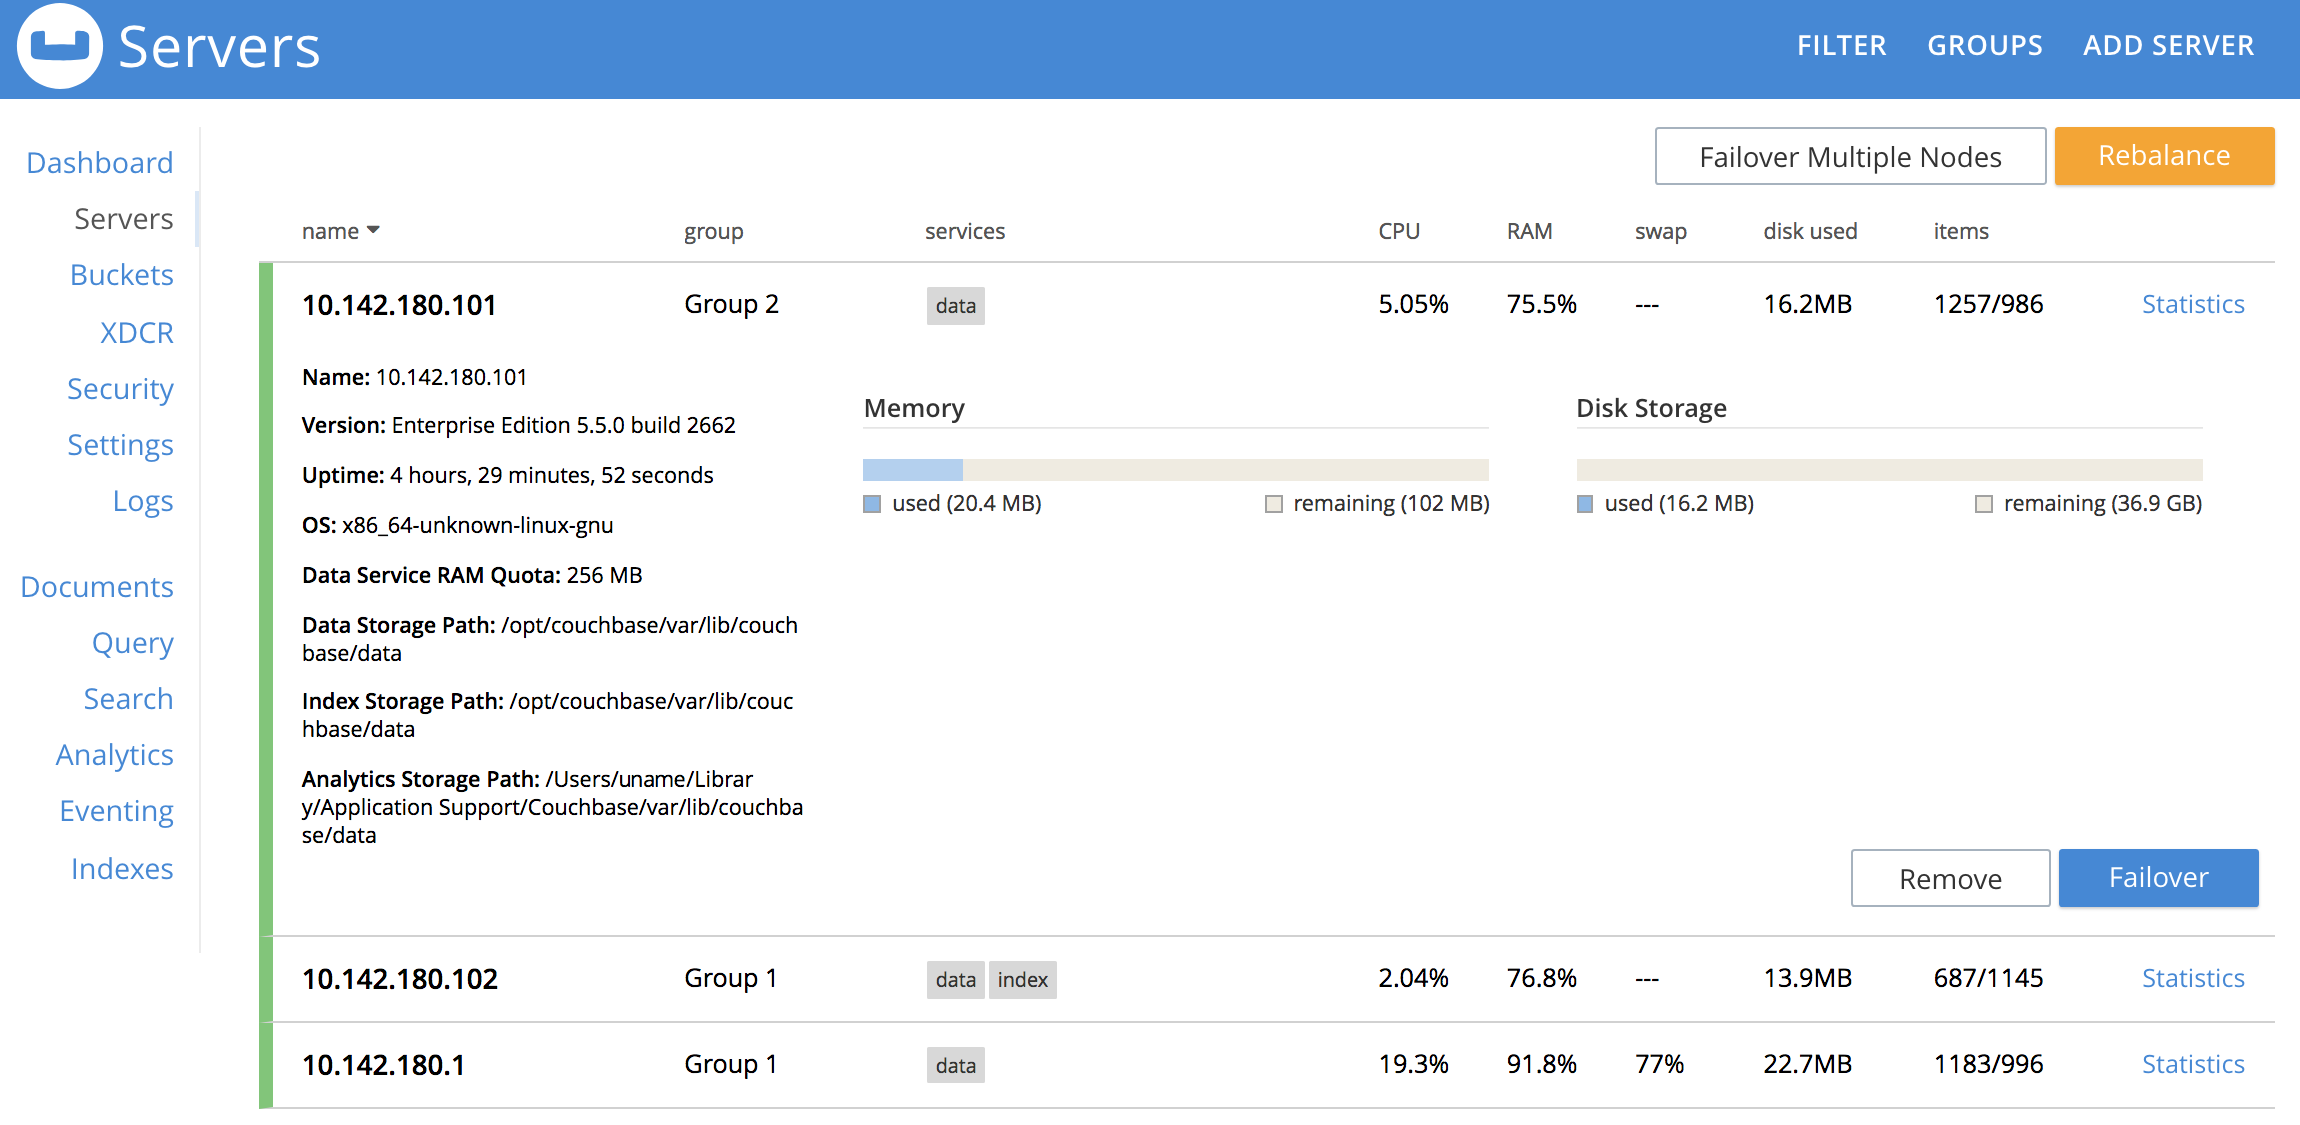
Access the Servers screen, and left-click on the row for each server you need to remove, in order to delete their group. This expands the row-display. The Remove button appears at the lower right:
-
Left-click on the Remove button, to remove the server. A confirmation notification appears:
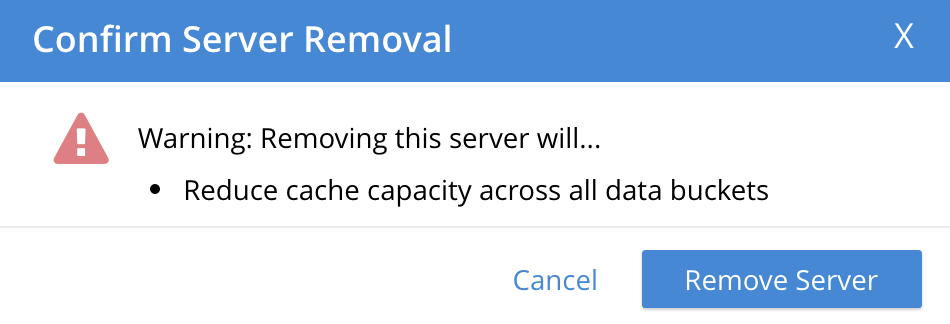
Left-click on the Remove Server button, to confirm.
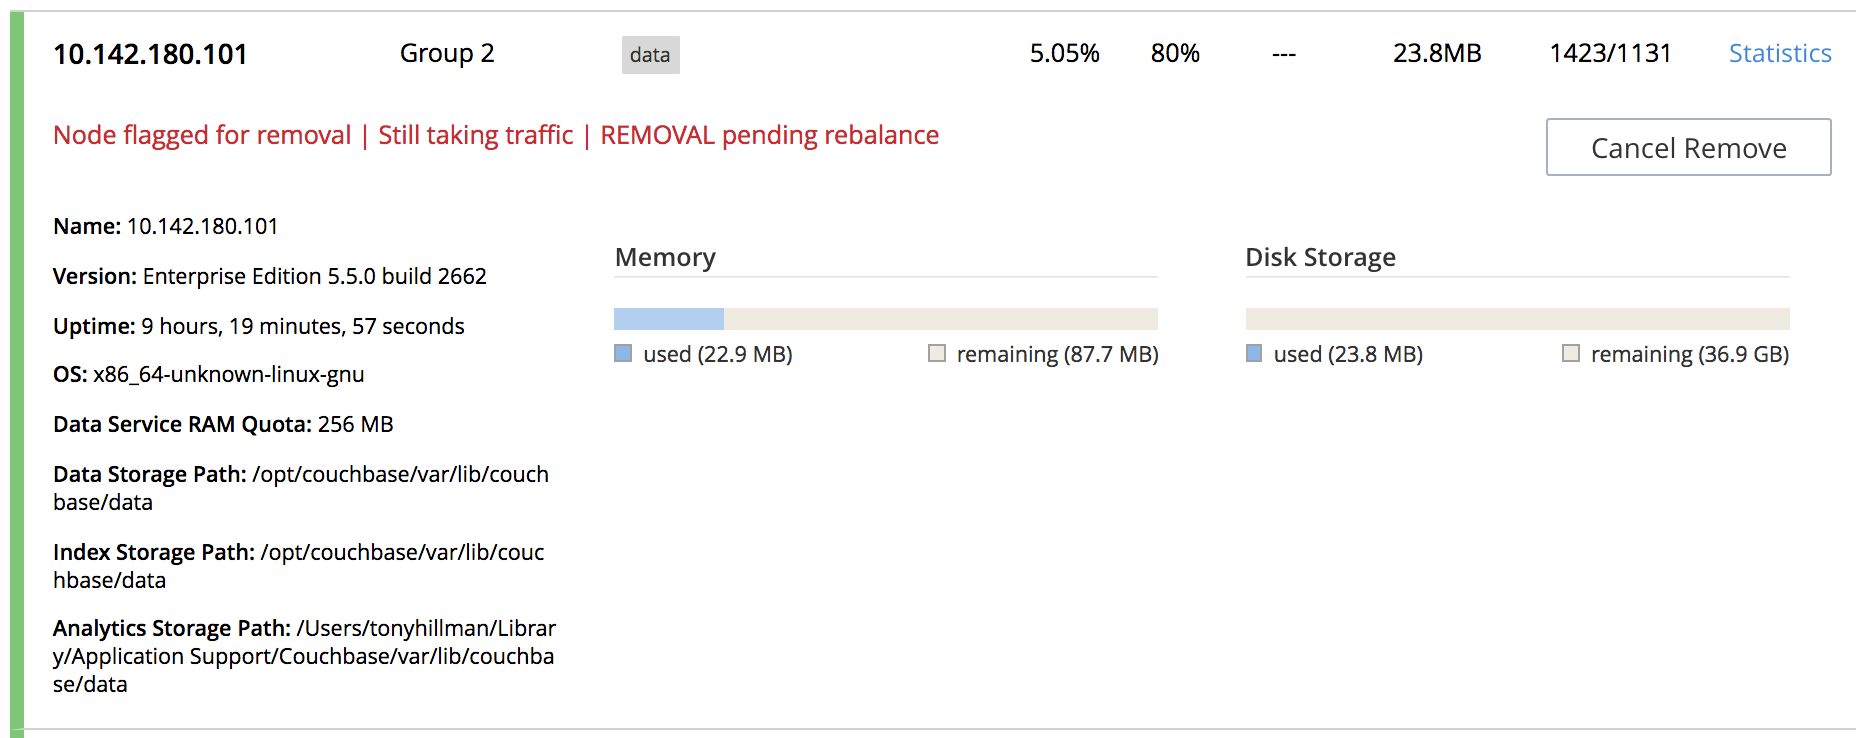
A REMOVAL pending rebalance notification now appears on the row. A Cancel Remove button is also provided, to allow cancellation:
-
Left-click on the Rebalance button to perform a rebalance, and thereby complete the server-removal process:

At the conclusion of the rebalance, the server has been removed.

Perform server-removal in this way for every server in the group to be deleted, until the group contains no servers.
-
Access the Server Groups screen, by left-clicking the Groups button, located at the upper right of the Servers screen. The group that now contains no servers is represented by a row that displays a notification:

-
Left-click on the delete group tab:

A confirmation dialog now appears:
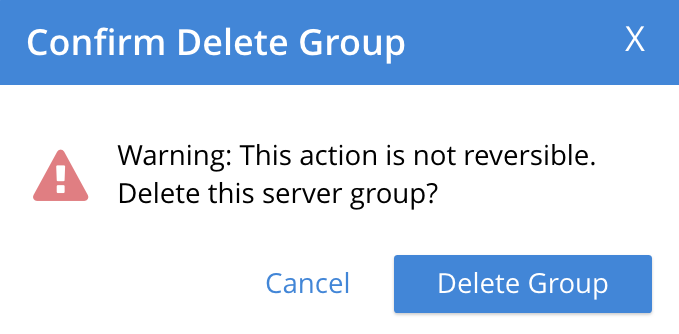
Left-click on the Delete Group button. The group is deleted, and now longer appears as a row on the Server Groups screen.