Create a Replication
An XDCR replication allows data to be replicated continuously from a specified bucket on the source cluster to a specified bucket on the target.
Understanding Replications
An XDCR replication is created on the cluster that is to be the source of the data-replication. Each replication uses a single reference, which has already been created. (See Create a Reference.) To create the replication, you specify:
-
The local, source bucket from which data is to be replicated.
-
The remote cluster to which data is to be replicated. This cluster must already be registered on the local cluster as a reference.
-
The bucket on the remote cluster to which data is to be replicated.
-
The XDCR protocol to be used.
-
Whether filtering should be used in replication, and if so, according to what regular expression.
-
Other Advanced Settings, which can be used to optimize replication-performance.
Note that multiple replications (each using a different source-target bucket combination) can be created using a single reference (which refers to a target cluster, but not to any specific bucket on it).
Examples on This Page
The examples in the subsections below show how to create the same replication; using the UI, the CLI, and the REST API respectively. As their starting-point, the examples assume the scenario that concluded the page Create a Reference, this being:
-
Two clusters already exist; each containing a single node. These are named after their IP addresses:
10.142.180.101and10.142.180.102. -
Each cluster contains a single bucket, which is the
travel-samplebucket. -
Each cluster has the Full Administrator username of
Administrator, and password ofpassword. -
Cluster
10.142.180.101now has a reference that specifies its owntravel-samplebucket as a source, and thetravel-samplebucket on10.142.180.102as a target.
Create an XDCR Replication with the UI
Proceed as follows:
-
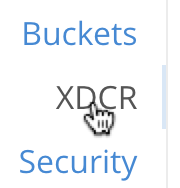
Access Couchbase Web Console. Left-click on the XDCR tab, in the right-hand navigation menu.
This displays the XDCR Replications screen, the lower part of the main panel of which is entitled Ongoing Replications:

The list, which is designed to show the name and IP address or hostname of each existing replication, is currently empty, and so bears the notification
There are no replications currently in progress. -
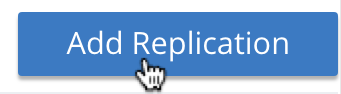
To start creating a replication, left-click on the Add Replication button:
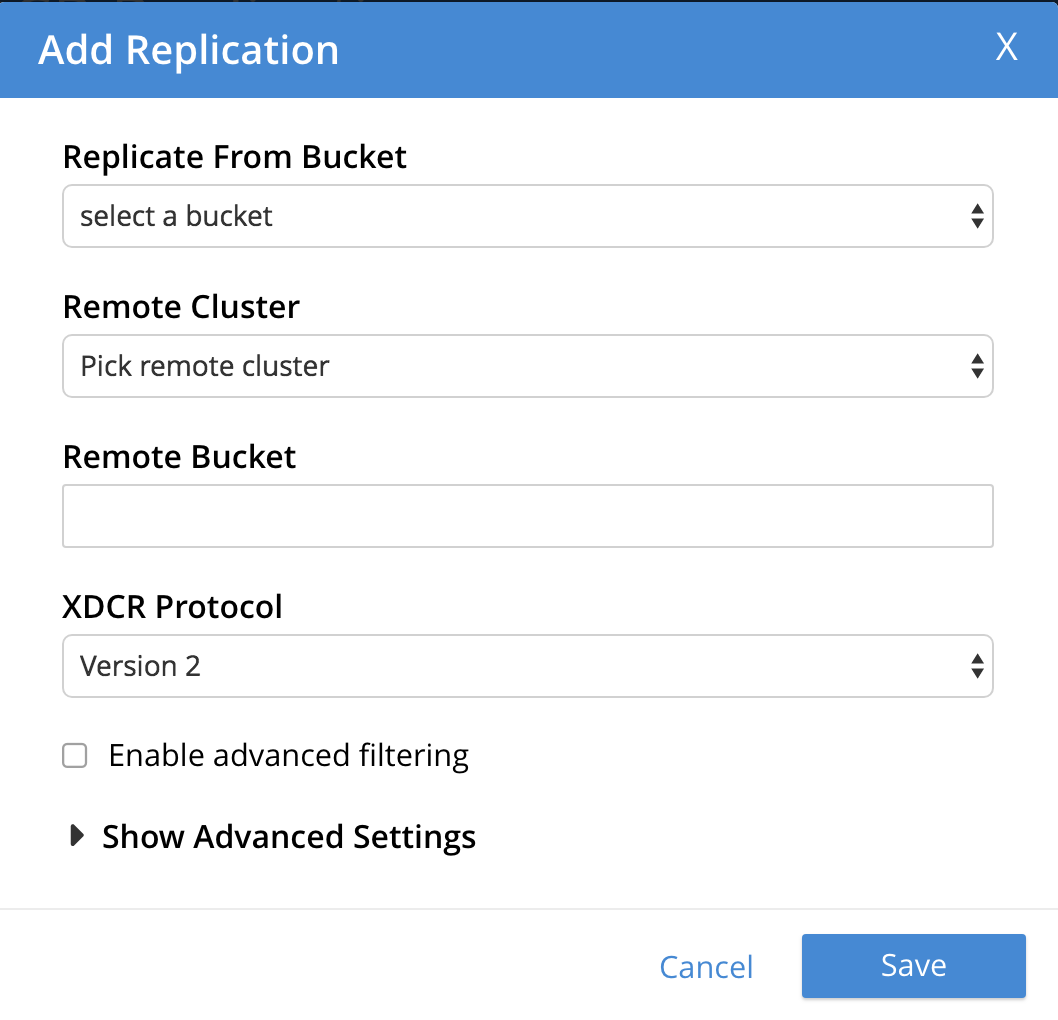
This brings up the Add Replication dialog:
-
Enter appropriate information into the fields of the Add Replication dialog. Specify
10.142.180.102as the target cluster, andtravel-sampleas both source and target bucket. Leave the XDCR Protocol asVersion 2. At this stage, do not check theEnable advanced filteringcheckbox, and do not elect to Show Advanced Settings.The completed dialog now appears as follows.
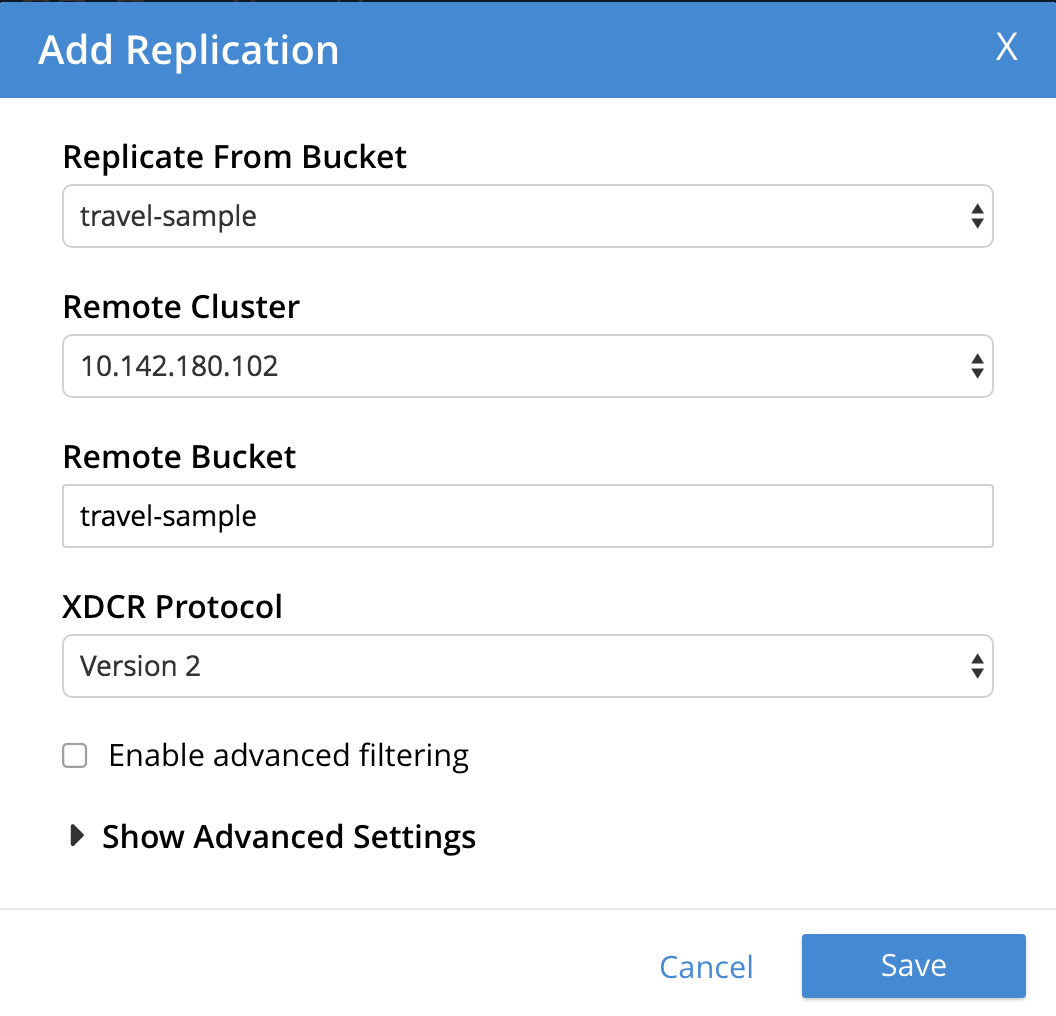
Left-click on the Save button. The XDCR Replications screen is now redisplayed, with the appearance of the Ongoing Replications panel as follows:

This indicates that a replication is now in progress: from
travel-sampleonthis clustertobucket "travel-sample" on cluster "10.142.180.102".
This concludes creation of the replication.
Advanced Filtering with the UI
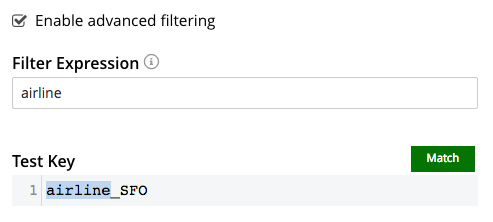
Advanced Filtering can be enabled by checking the Enabled advanced
filtering checkbox. The UI expands to reveal the following field:…

One or more regular expressions, to be used as filters, can be entered into the Filter Expression field. The expression is matched against document keys within the source bucket. (Note that no match is attempted with document values.) If a match is successful, that document is replicated. Documents whose keys do not provide a match are not replicated.
Optionally, document keys can be entered into a Test Key field: hitting return produces successive fields, so any number of keys can be tested. If a match is successful, the orange No Match button is displayed in green, and signifies that a Match has been made:
Complete information on XDCR filtering is provided in XDCR Filtering.
Advanced Settings with the UI
Advanced Settings can be established by left-clicking on the Show Advanced Settings control, on the Add Replication dialog. The UI expands vertically, to reveal the following:
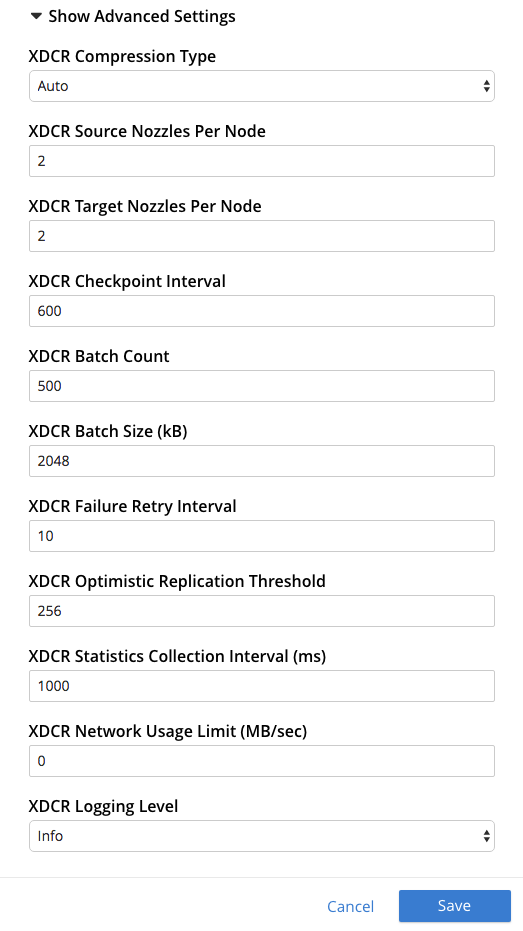
The values displayed in the fields are defaults, which can be modified interactively, and saved: this may help in achieving optimal replication-performance. For details on the significance of each field, See XDCR Advanced Settings.
Create an XDCR Replication with the CLI
Staring from the scenario defined above, in
Examples on This Page,
use the CLI xdcr-replicate command to create an XDCR replication, as follows:
couchbase-cli xdcr-replicate -c 10.142.180.101 \
> -u Administrator \
> -p password \
> --create \
> --xdcr-cluster-name 10.142.180.102 \
> --xdcr-from-bucket travel-sample \
> --xdcr-to-bucket travel-sample \
> --xdcr-replication-mode xmem
If successful, this provides the following response:
SUCCESS: XDCR replication created
For more information, see the complete reference for the cli:cbcli/couchbase-cli-xdcr-replicate.adoc command. Note that this includes descriptions of all flags that support the Advanced Settings, described above.
Create an XDCR Replication with the REST API
Staring from the scenario defined above, in
Examples on This Page,
using the REST API’s
POST /controller/createReplication HTTP method and URI, create an XDCR
reference as follows:
curl -v -X POST -u Administrator:password \
> http://10.142.180.101:8091/controller/createReplication \
> -d fromBucket=travel-sample \
> -d toCluster=10.142.180.102 \
> -d toBucket=travel-sample \
> -d replicationType=continuous \
> -d enableCompression=1
If successful, this provides the following response:
{"id":"82026f90f5f573b5e50ec8b7a7012ab1/travel-sample/travel-sample"}
For more information, see Creating XDCR Replications. For information on REST-driven configuration of the Advanced Settings described above, see Managing Advanced XDCR Settings.
Next Steps
Once a replication has been defined and is therefore running, you can opt to pause it, in order to perform system maintenance. See Pause a Replication.